DIY custom sized stripboards


|
This post was updated on .
I recently had a request for a pedal with a layout size of 22 x 24. And somehow unknowingly had run out of the larger stripboards. So I pieced one together using the smaller sized Tayda board and a leftover scrap from a previous build.
It worked out so well thought it might be worth sharing. So far I have successfully made and populated 3 boards using the following process without any fails...not yet anyway. Total time spent wasn't all that much more than my normal process, maybe added 15-20 minutes of actual work time. Just the extra time for filing (10 mins), scraping (10 mins) and waiting for the glue to set (while I ate dinner). Too many times my scrap pieces were just 1 or 2 rows shy of what I needed and I ended up cutting down or purchasing new veros. Now I can finally make use of the scraps I've accumulated over the years for seemingly no good reason. Hope someone finds this useful. As always, suggestions welcomed. 1. Cut the appropriate sizes which will eventually be glued together. In the pictured example, I needed a 21x26 board, so I cut a 21x16 from the smaller sized Tayda vero and a 21x10 from a previous leftover scrap. (When deciding on the sizes of the two boards to be joined, be sure all of the fixed spaced components such as ICs, transistors and trimmers will only be installed on one board or the other, not jumping across from one board to the other as there may be a larger spacing between holes across the two boards. Resistors, capacitors, jumpers etc are ok to jump across the two boards as their hole spacing isn't as critical)  2. File down at least the two mating edges, making a smooth, straight edge for glueing. I found running the board across the file and flipping the board around every now and then made it quick and kept the edge fairly even across. I just filed until the spacing of the holes of the mating edges looked somewhat uniform to the rest when joined together. The mating edge hole spacing doesn't have to be perfect since there will not be any ICs or such bridging the two per step 1 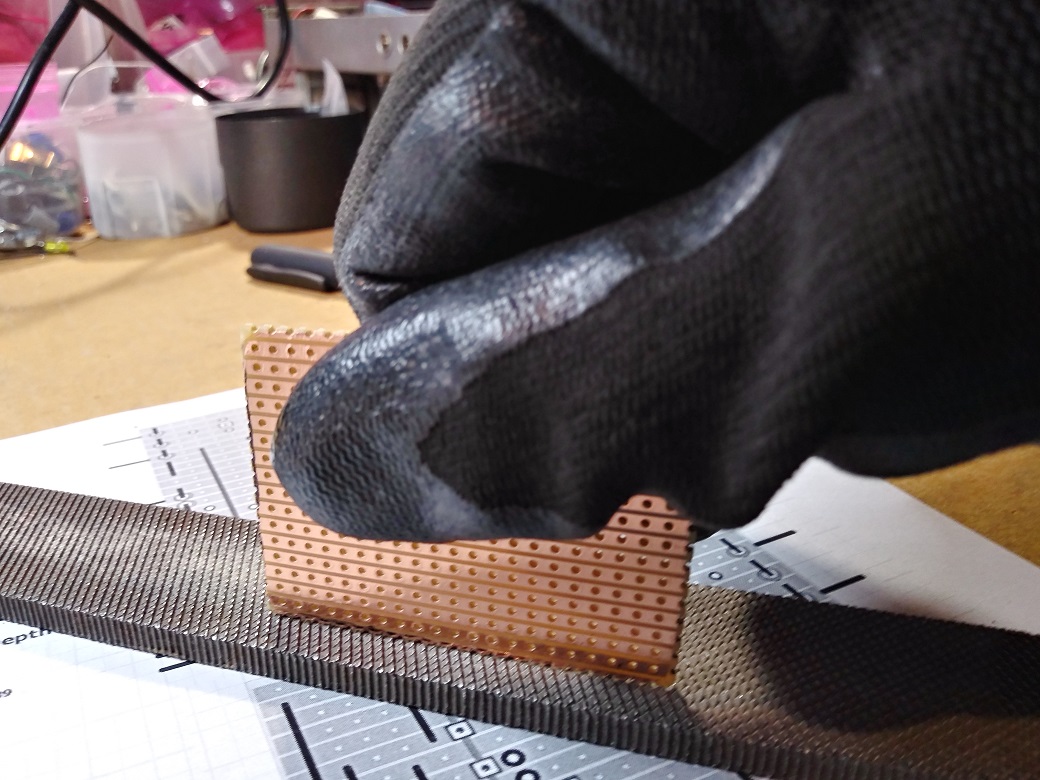 3. Use a finer file to clean up the sharp edges. 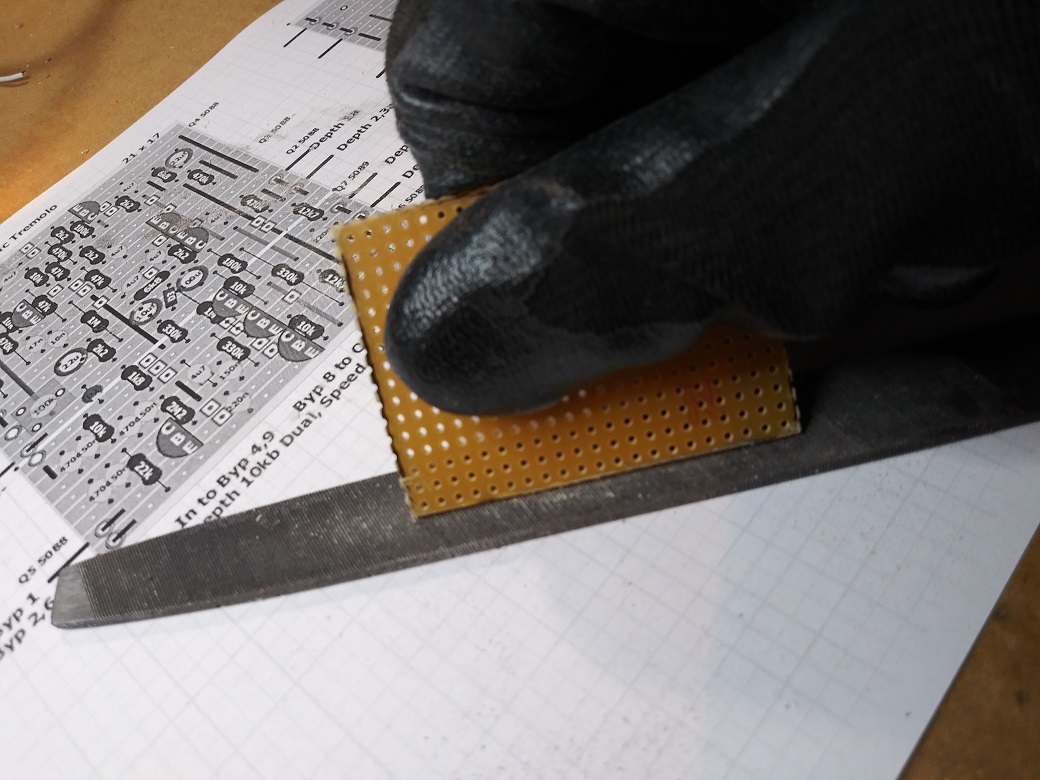 4.Make all the cuts on both boards. Best done before glueing. It was helpful to have a reverse image printed with an indicator showing where the two halves will be joined. (the horizontal white line). Note there are no fixed spaced components bridging both halves (such as ICs) 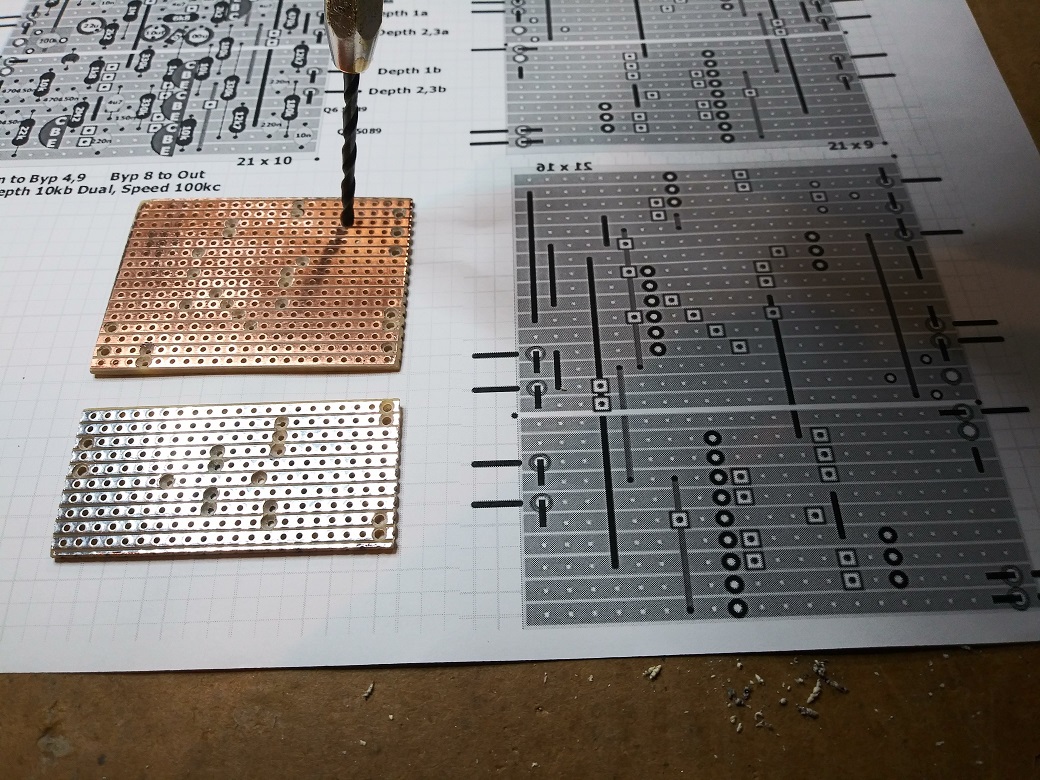 5. Lightly run the copper sides over the fine file to both clean up the cuts, and to remove any ozidation from the traces. Although not shown, double check the two mating edges will fit together well. 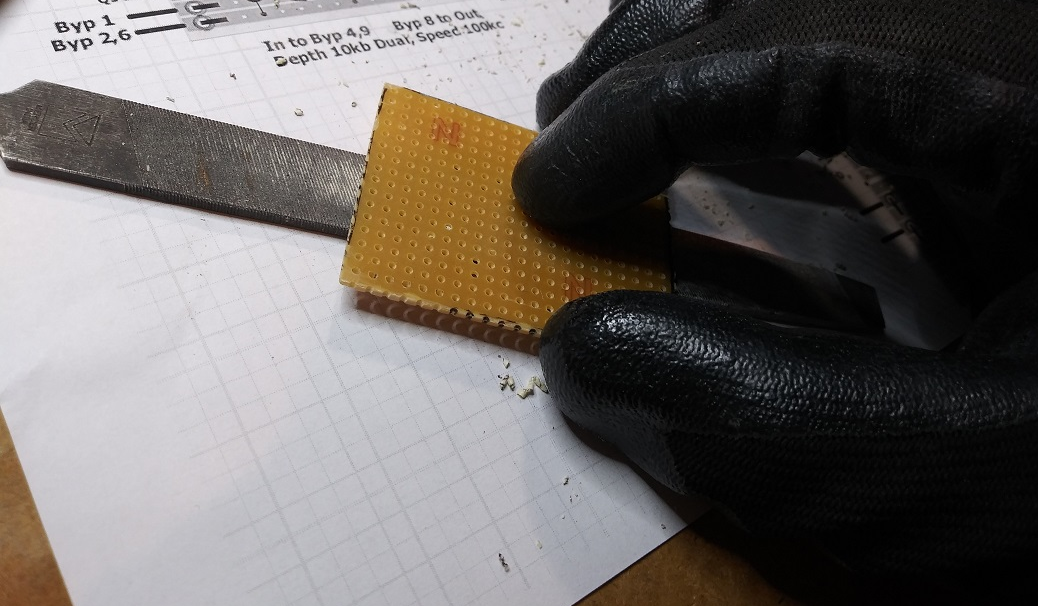 6. Check continuity across the cuts and correct if necessary. Best to have applied any needed downward pressure to the individual boards before glueing 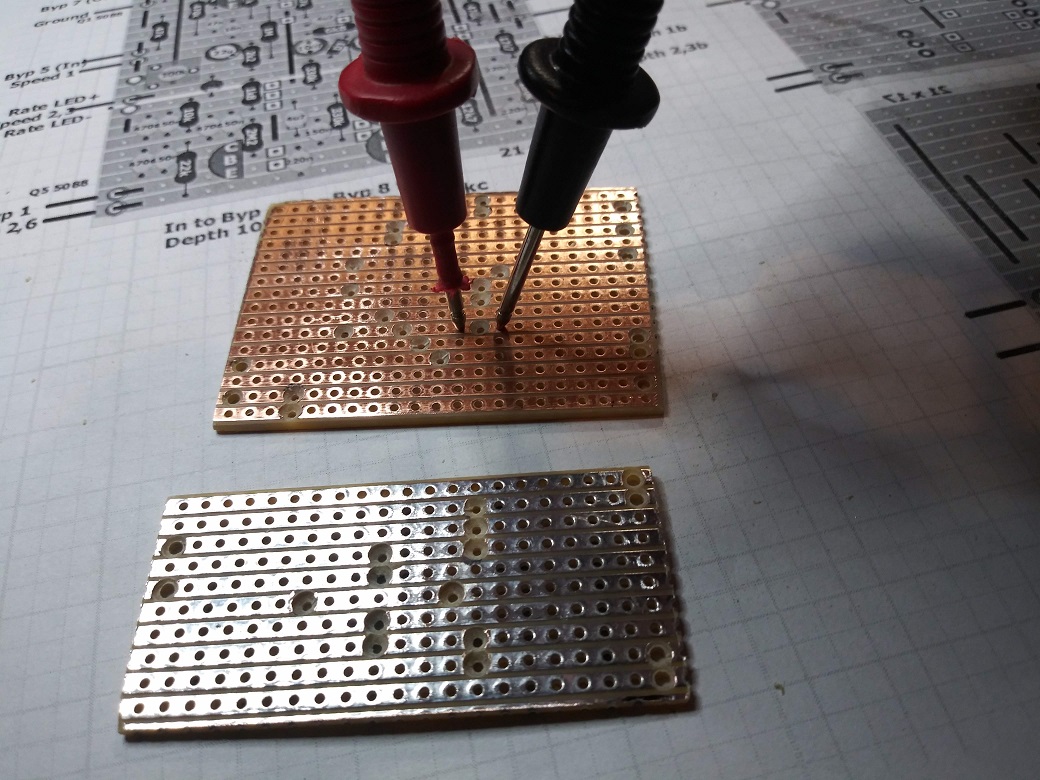 7. Although not shown, clean the mating edges with alcohol. Flip the top board over, now copper side down, and place a piece of tape all the way across the mating edge, cut slightly wider and leaving 1/2 of the tape's width hanging over that mating edge. Be sure to tape across the proper edge (ask me how I know) 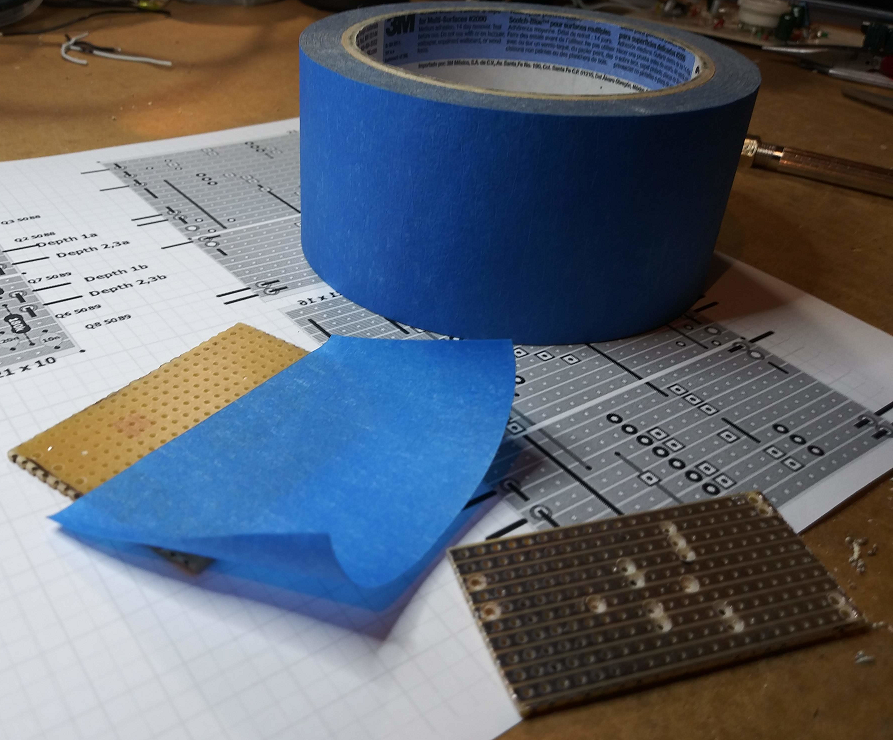 8. Flip the taped top board back over so the copper side and sticky side of the exposed tape are facing up. Line up the mating edge's holes and while making sure you have a tight fit along the joined edges, press the lower board down onto the exposed tape. I found it easiest to come in at an angle. Double check the two halves are butted up well 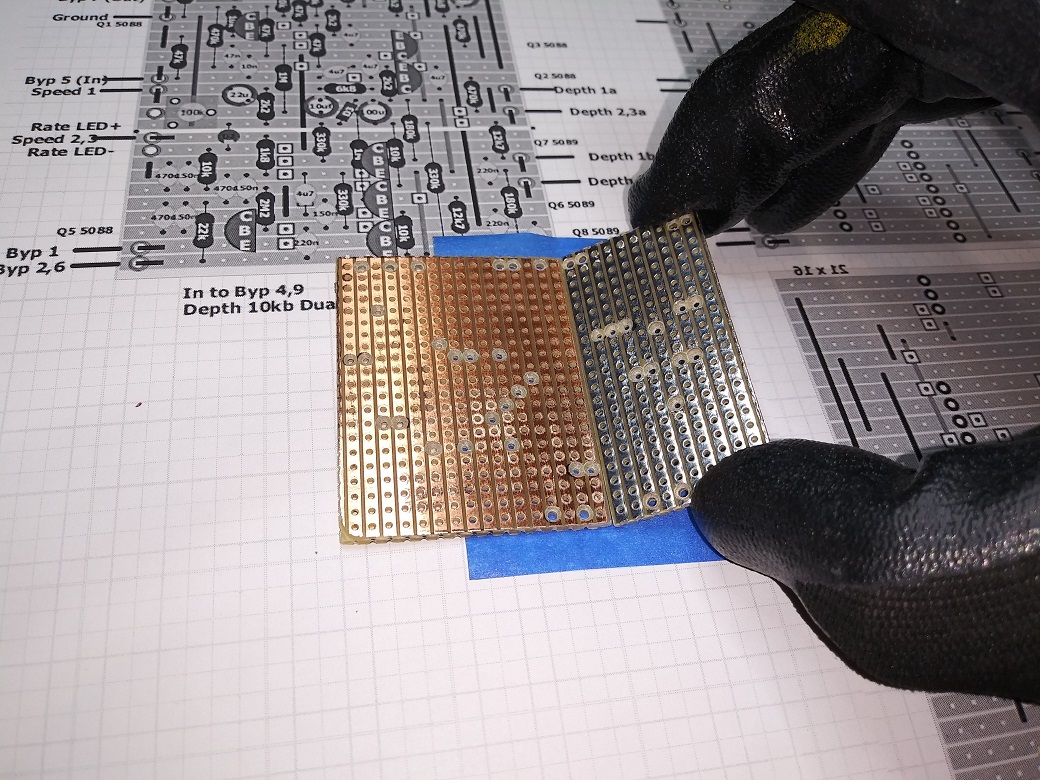 9. Be sure the cuts on the joined halves match the reversed image of the layout (Again, ask me how I know) 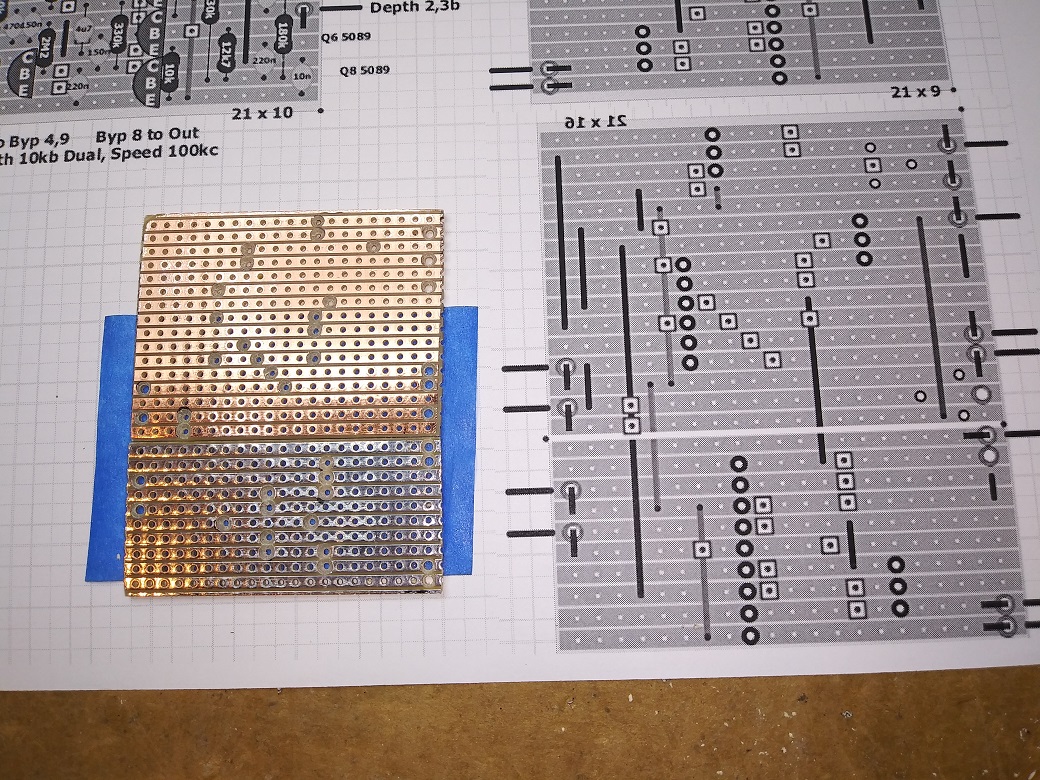 10. With the copper side still facing up, mask off the traces and through holes that are immediately adjacent to the mating edges' seam. You want to minimize the amount of glue getting on those traces and/or filling those holes 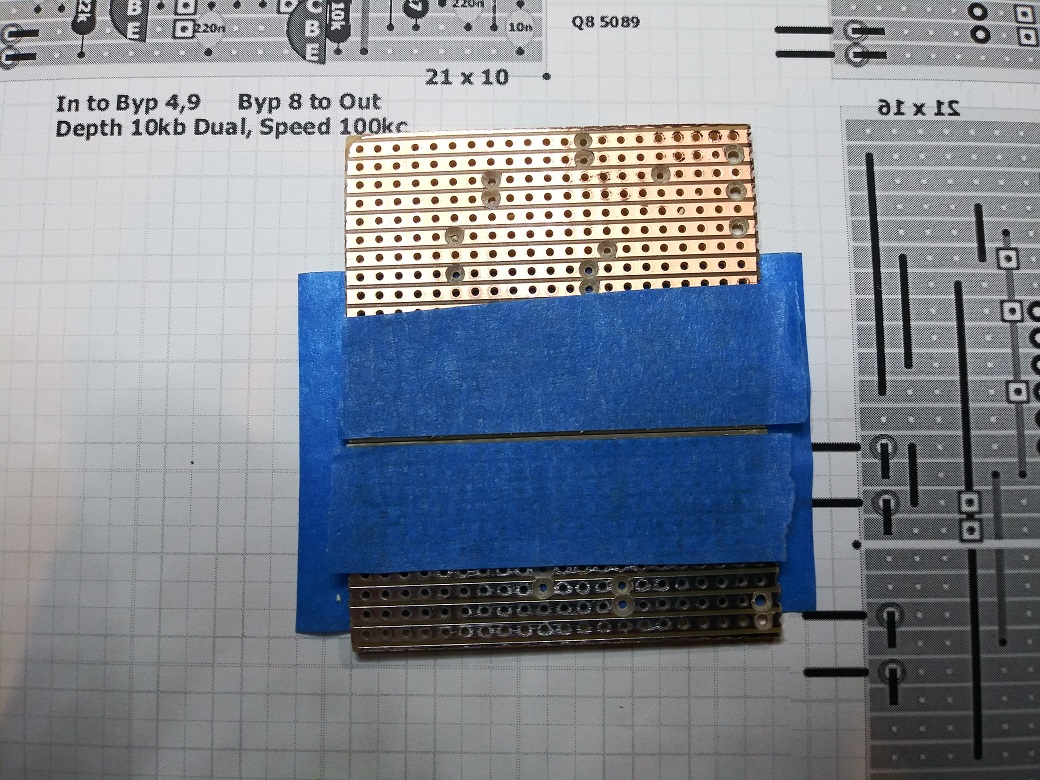 11. Thin, flexible super glue works well 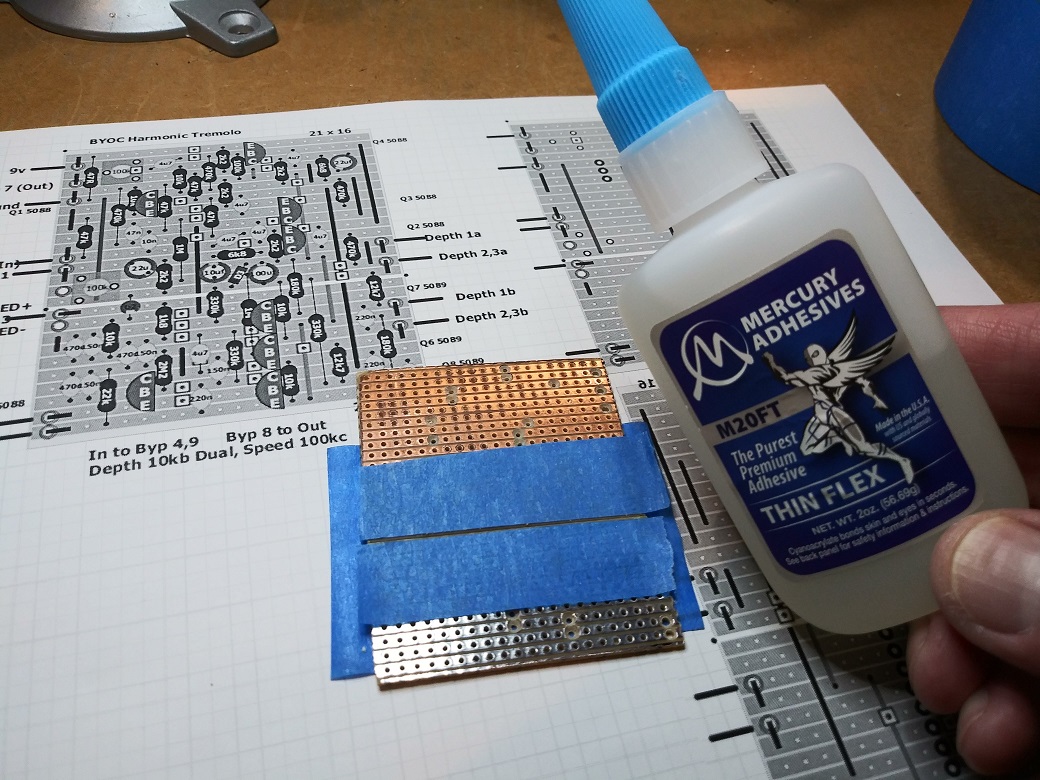 12. With the copper sides still facing up, (work on a piece of cardbord if available, like cutout from a shipping box) apply a single bead of thin super glue across the exposed seam. The smaller the opening in the super glue tube the better. Mine is a bit large, but the tape masking helped as shown in the next picture. 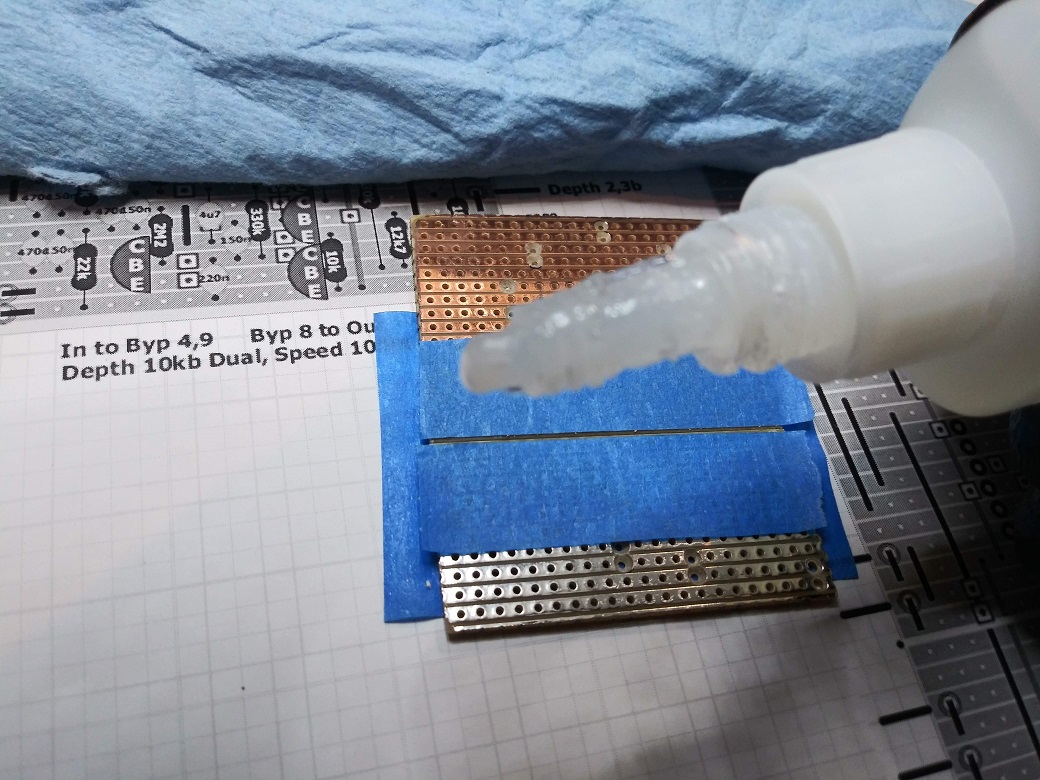 13. As soon as you finish glueing the seam, momentarily press lightly on the outer board edges parallel with the seam, just quick enough to allow the super glue to penetrate further down into the seam. (This is where working on a piece of cardboard comes in handy) The tape should keep the mating edges snug once you let go. 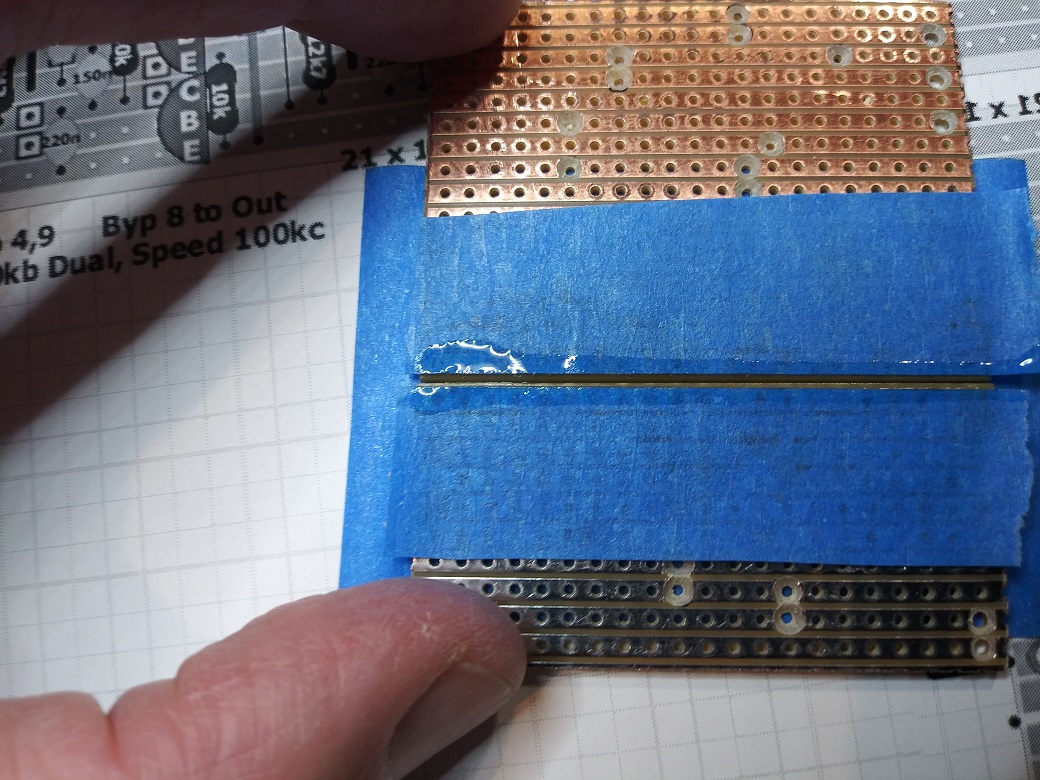 14. Do not disturb and let dry fully (see glue's label for times). This one set while I had dinner. 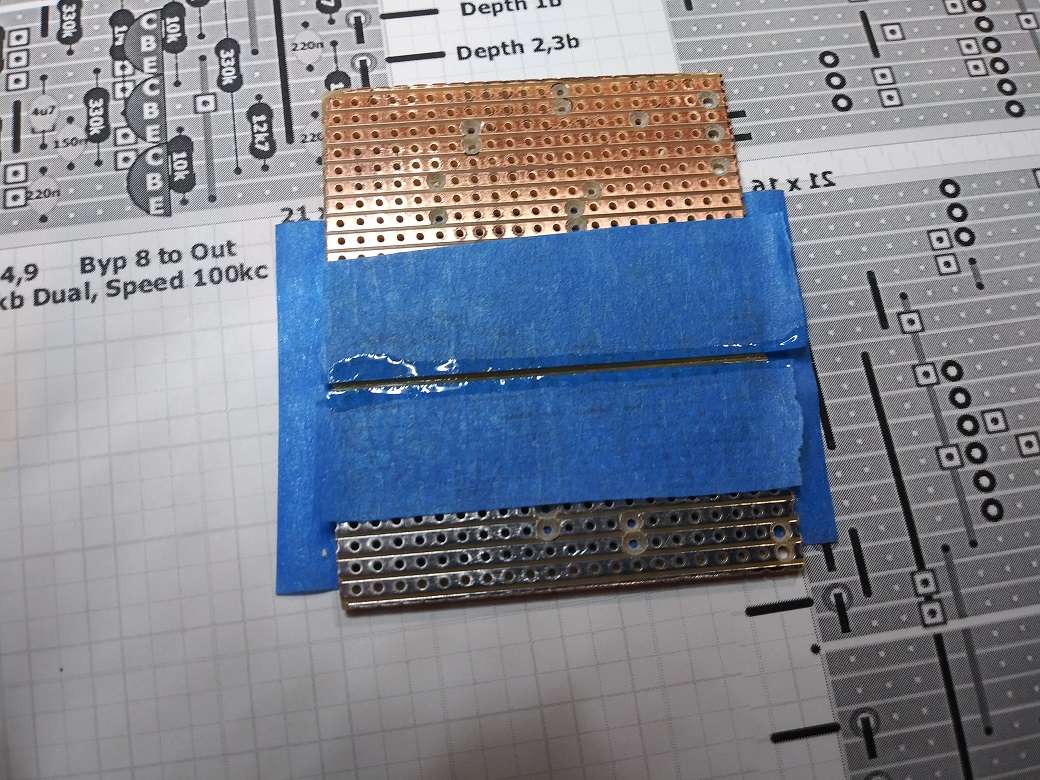 15. Remove the tape from one half at a time, while holding that same half. Avoid adding unecessary pressure across the glued seam. 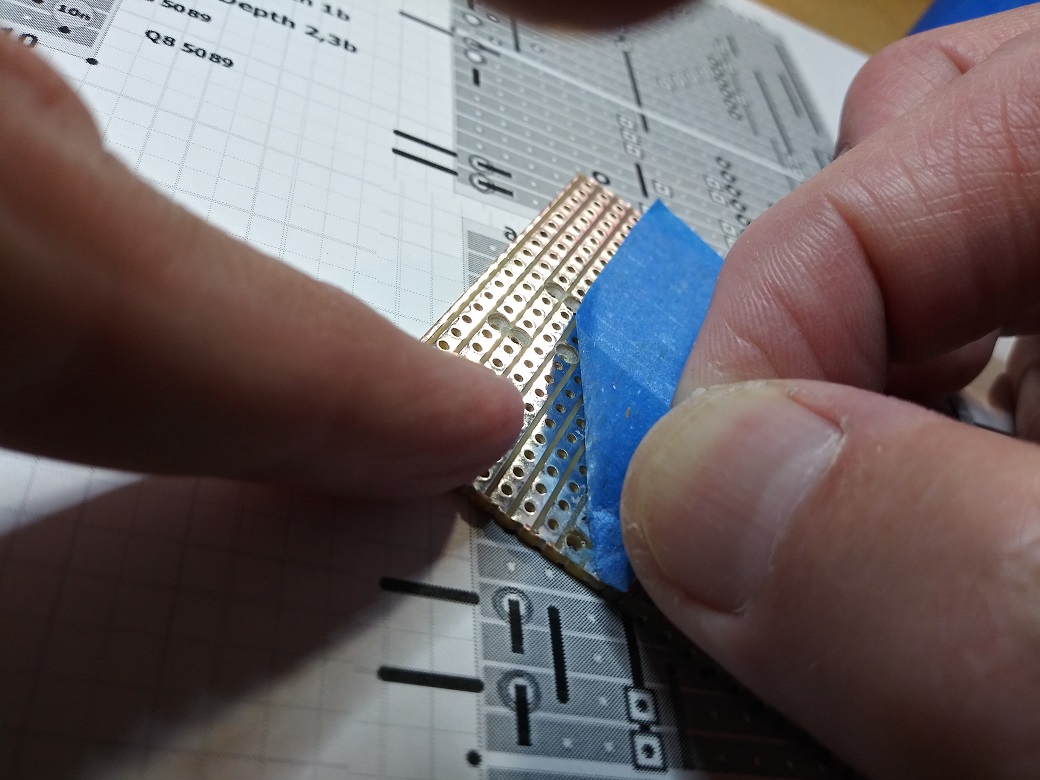 17. Use a straight edge razor to scrape away and residual tape and/or any glue that may have seeped underneath the tape. Hold the razor blade perpendicular to the board and scape along the traces, not across the traces. Scrape each board seperately, right up to the seam. 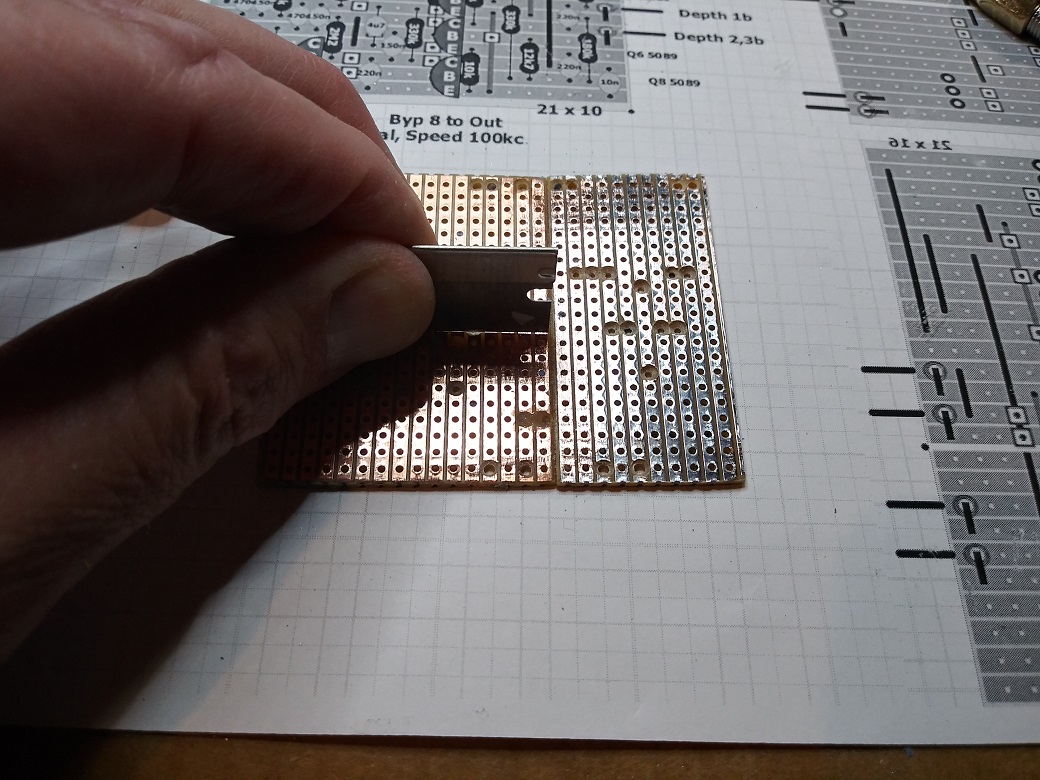 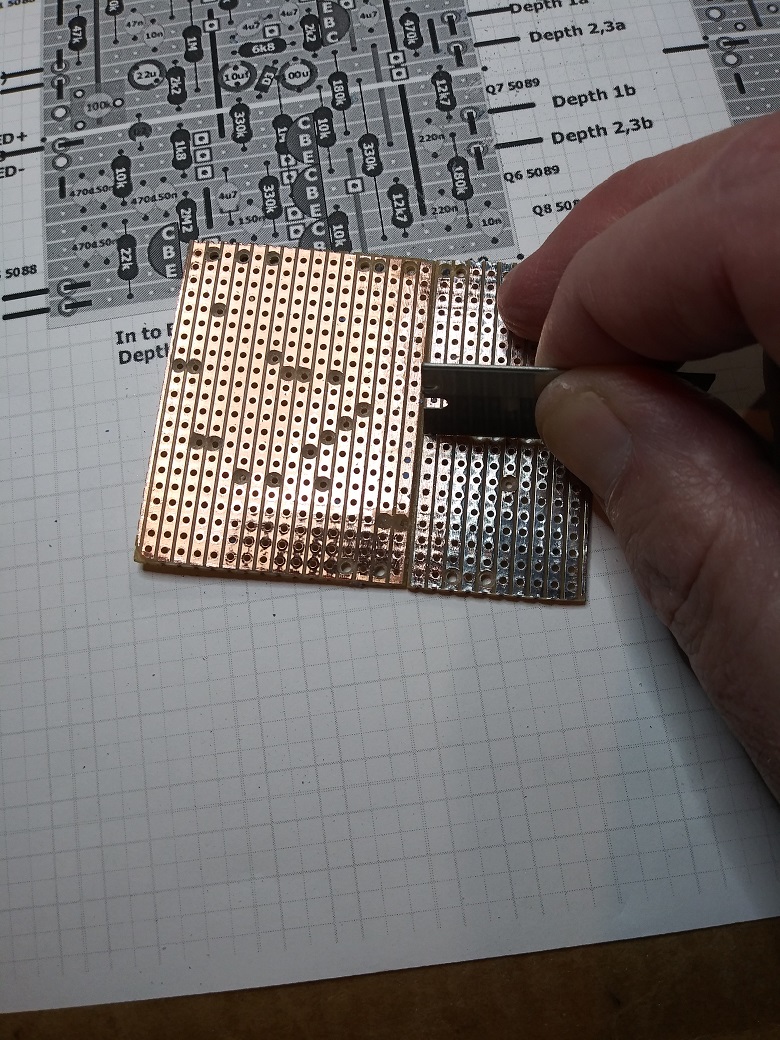 18 Carefully scrape the top side too using the same method and direction as the previous step. 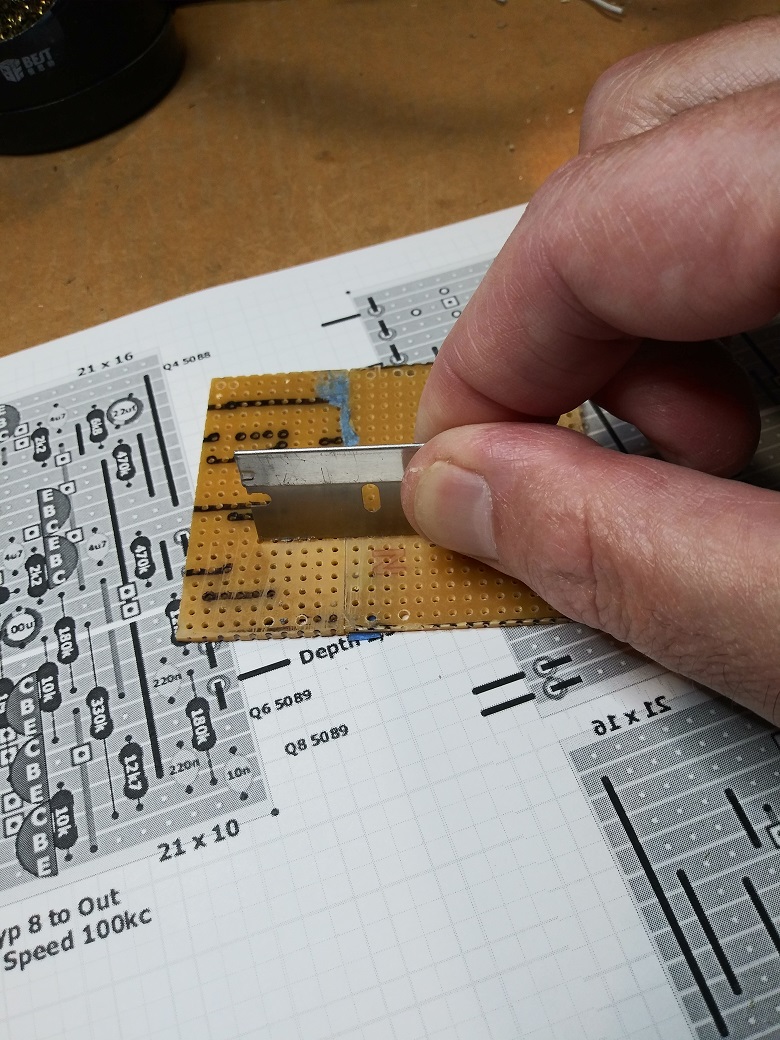 19, Gently run the copper side over the fine file again, holding the same side that is being filed. Then clean both sides of the board with some 91% alcohol (Walmart). 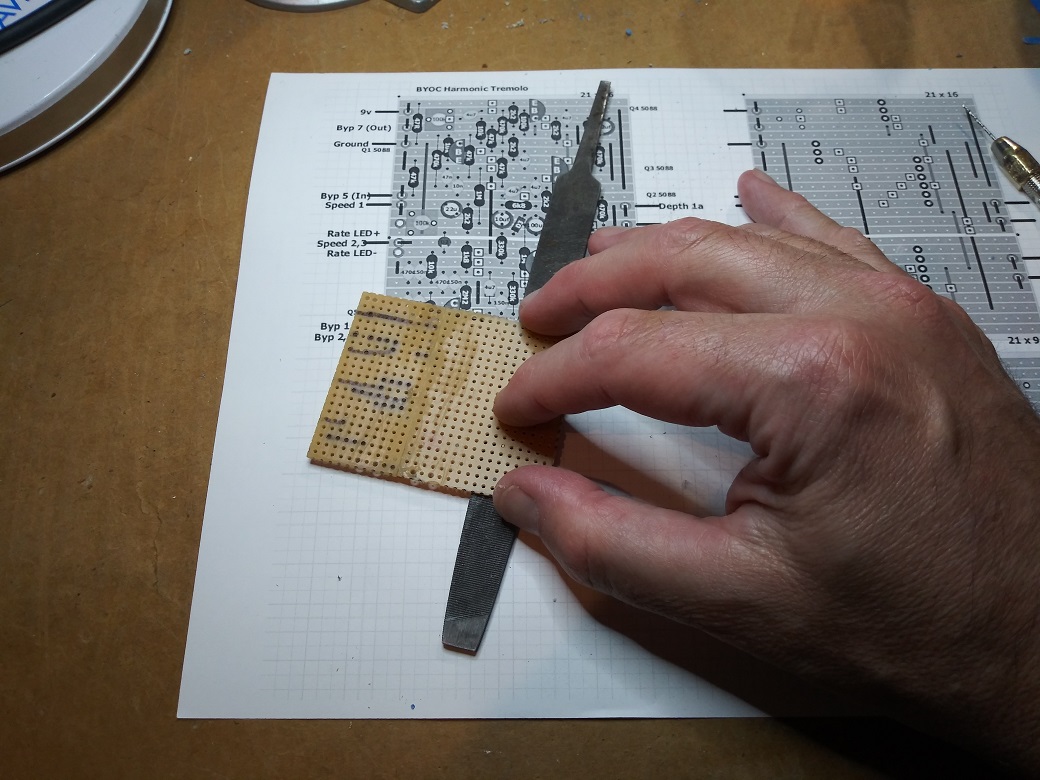 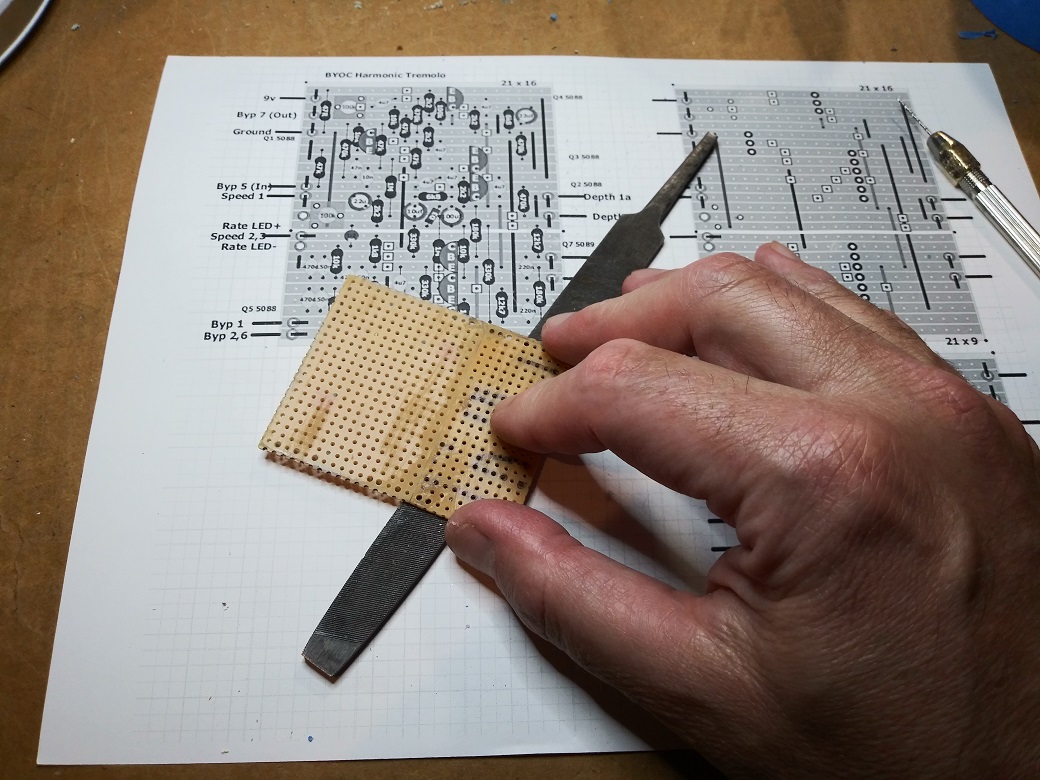 20. Should now be ready to go 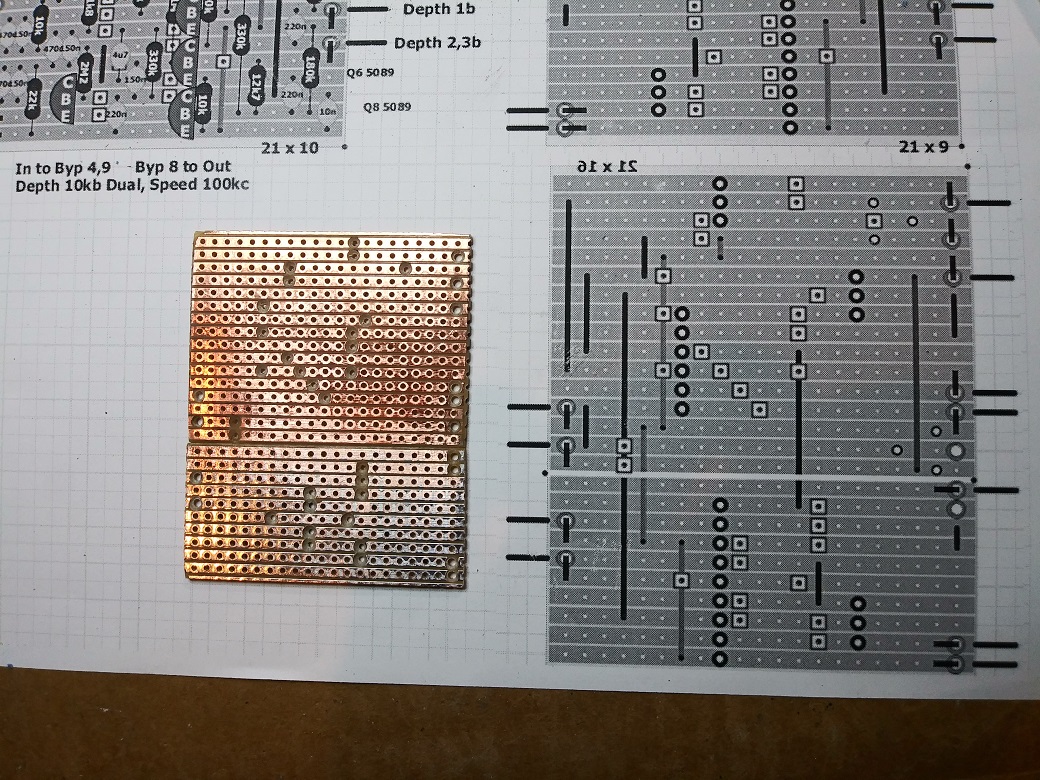 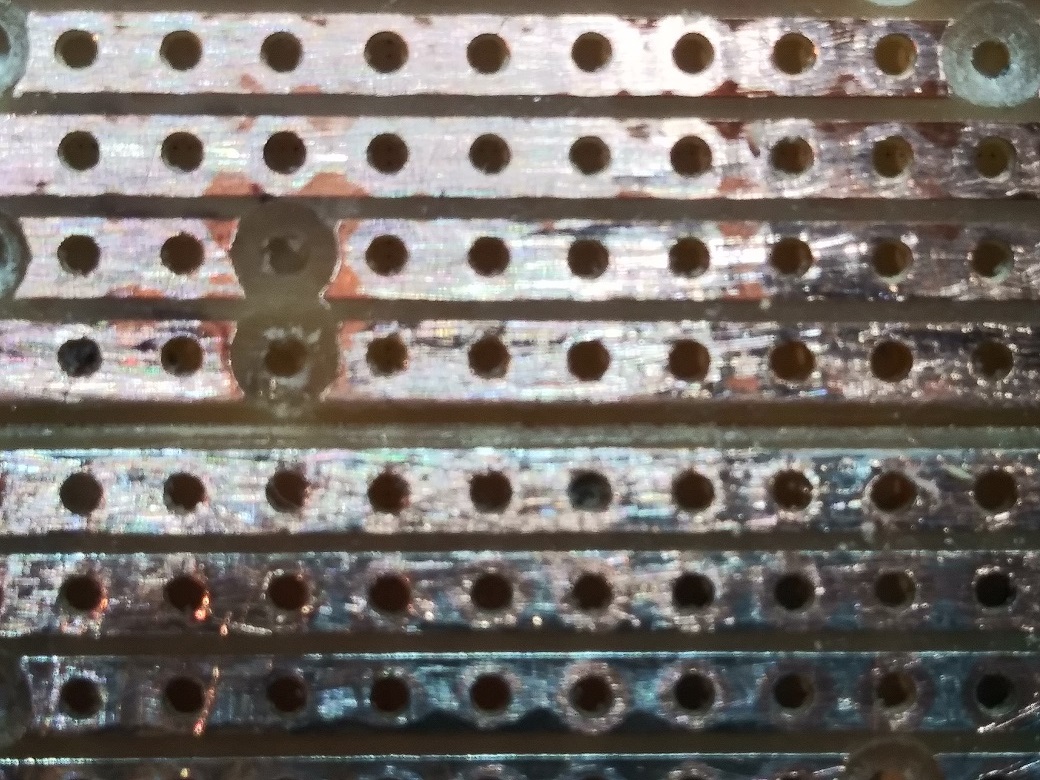 The following isn't necessary, but looks nice and helps keep an eye on the seam. 21. Cover the top side of the joined boards with tape, I used two pieces butted up at the seam. The helps me know where the seam is when populating the board 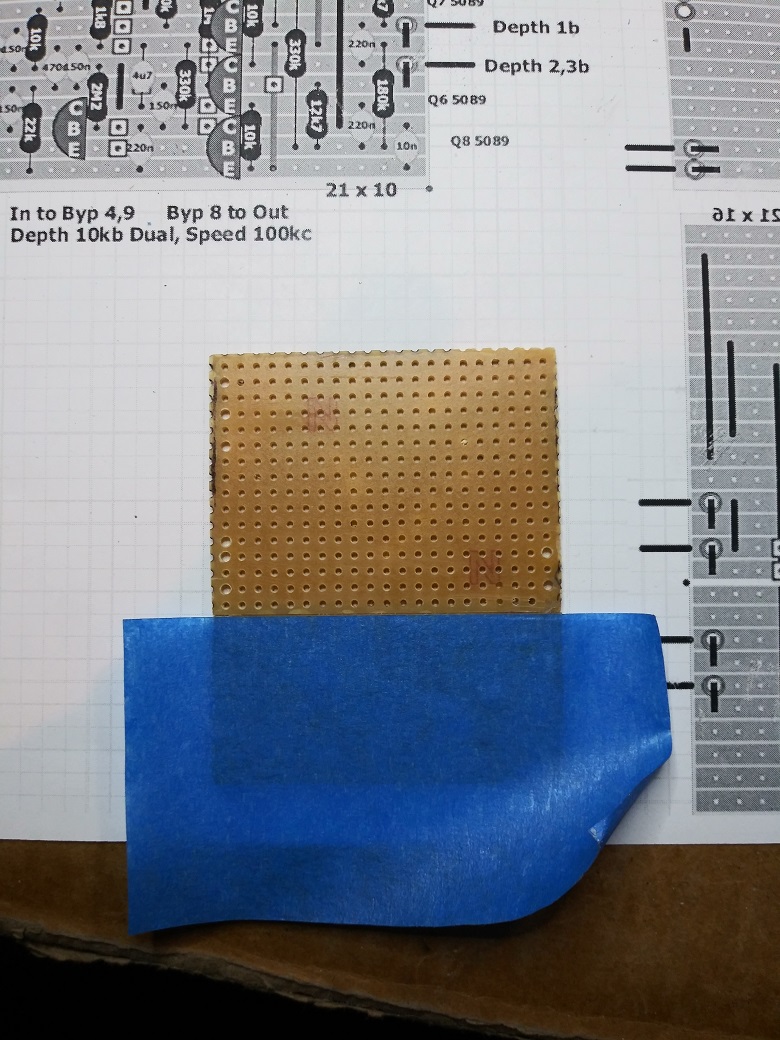 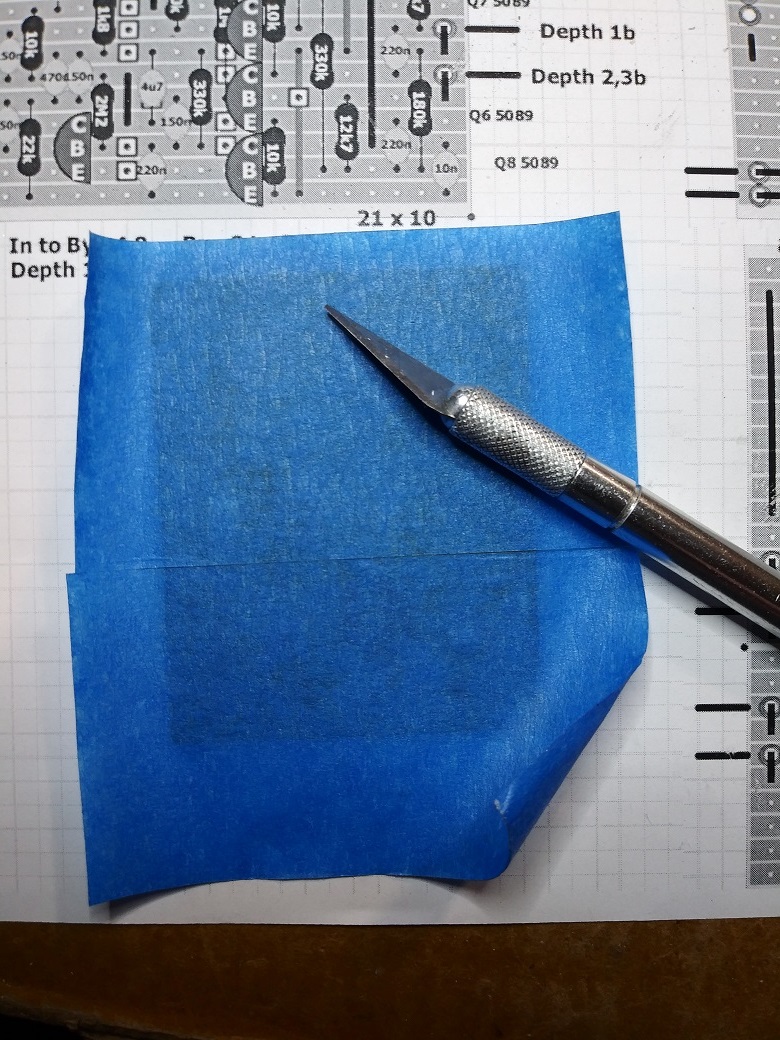 And trimmed to fit with an exacto knife 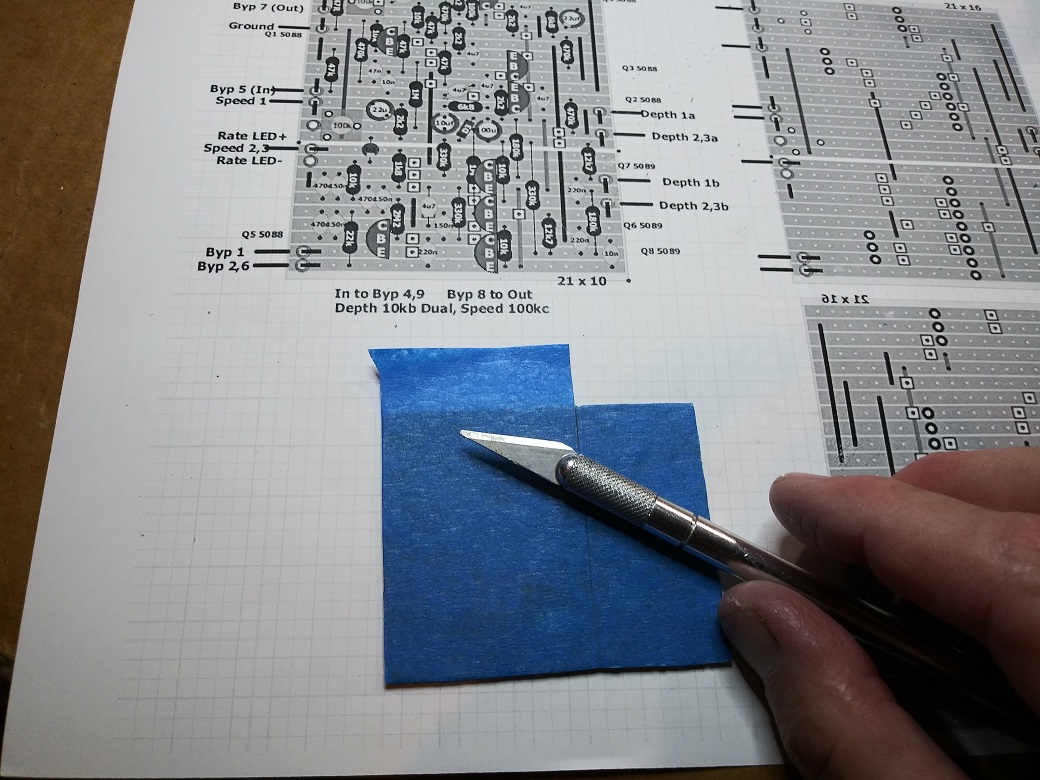 22 Working one board at a time, poke holes through the tape for components and wire connections, being sure not to place unecessary pressure across the glued seam. Think of working on the top half, then the bottom half paying careful attention when adding components across both halves. Be sure to get the spacing correct and again minimize any pressure across the seam. (The glue I used seems rock solid, but better safe then sorry). I'm using a spring loaded punch here, but not as a punch. Just simply using the pointy tip to poke through the tape. 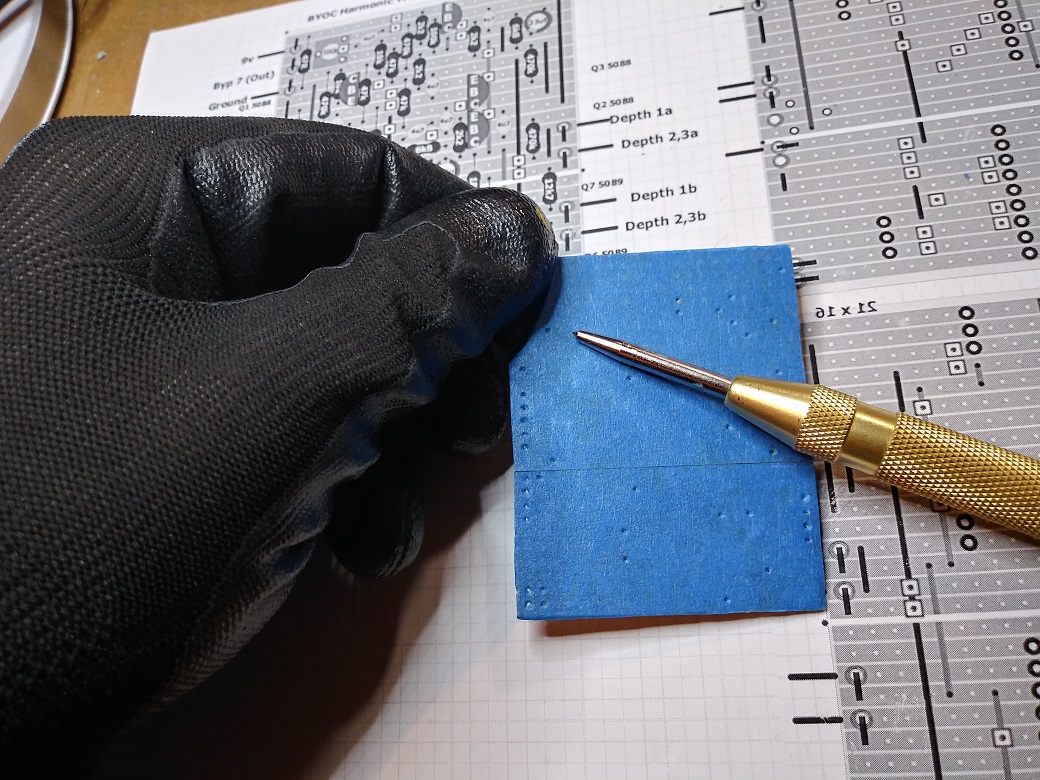 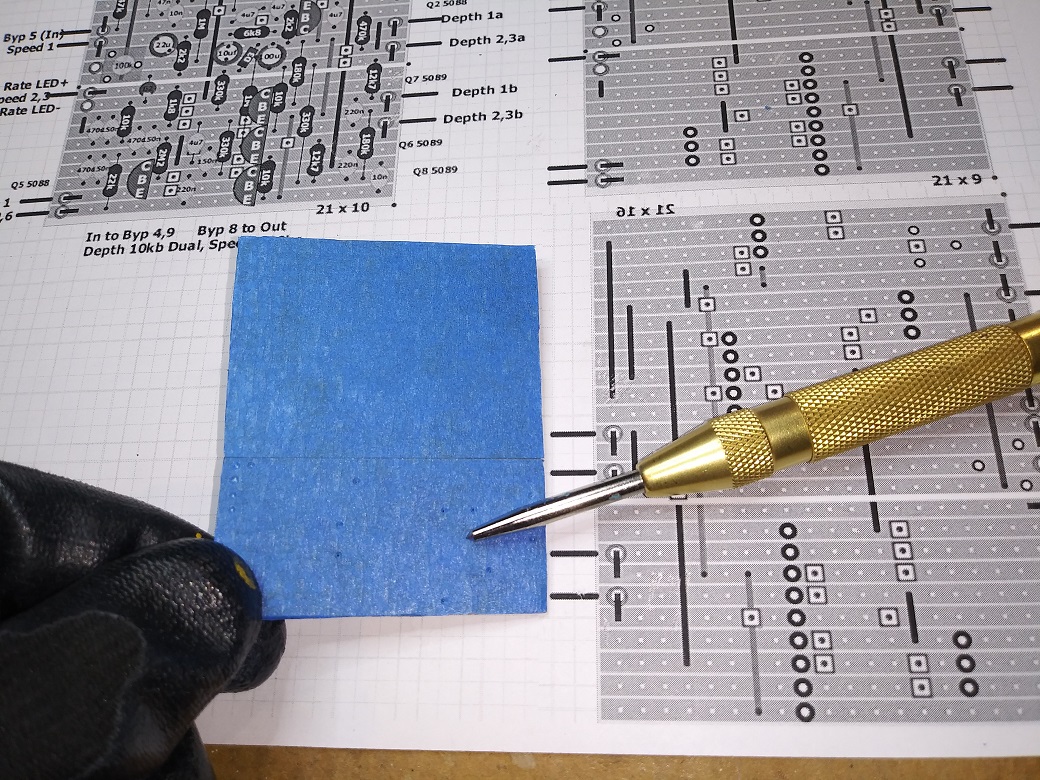 When stuffing the components, if you find any of the holes plugged with glue, use a tiny drill bit to bore out the hole Here's how one of the actual boards I pieced together looks finished and installed.  Material and tools used 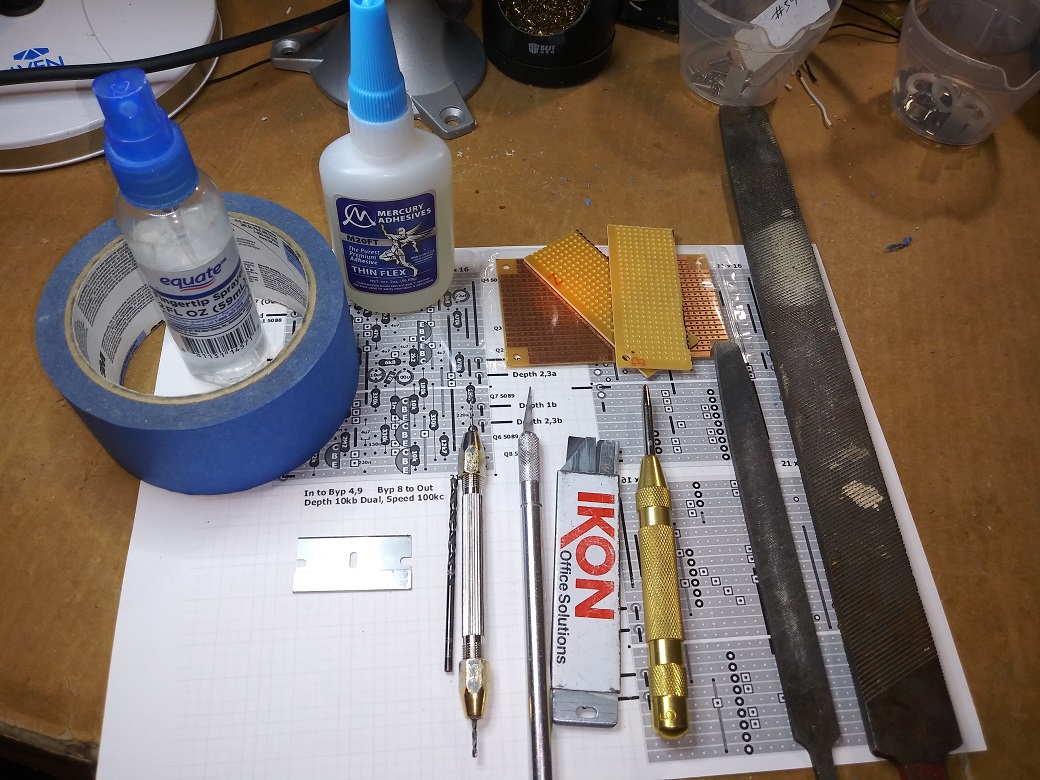
1978 Gibson Les Paul Standard, Cherry Sunburst
|
|
|
This is AWESOME!
|
|
|
Appreciate it Lumpy,
FYI, I've done this process 1/2 dozen or more times without fail, making both large and small boards, but did have one 23x26 snap at the seem when I carelessly pressed it down too hard on a ball of blu tack for soldering. I had the blu tack balled up and directly under the seam, carelessly pressed the board down to flatten the blu tack a bit and the board snapped. The board was 80% populated so I just added another bead of the glue across the seam, let it set overnight and all was good. Finished it up without issue. If you try this, just be careful not to add too much pressure accross the seam.
1978 Gibson Les Paul Standard, Cherry Sunburst
|
|
|
I actually pieced together two boards from scraps, and have built two working pedals. A MBP WigL which is ready to box, and a Little Angel Chorus that still has the lock freeze issue even with the updated layout. It's a nice sounding chorus, but until I figure out how not to need to short it with a screwdriver, no box. I used epoxy for the boards, and they are tough as nails.
|
«
Return to Open Chat
|
1 view|%1 views
| Free forum by Nabble | Edit this page |