So I broke down and convinced the wife that "we" needed a cricut die cutter lol
Cricut and silhouette seem to be the big two brands. The cricut explore Eric's seems to get better reviews overall. My gripe is that you have to use their design software, which is cloud based. You can upload your own gfx, but they need to be in svg format.. They say you can upload jpgs and pngs and dxfs and such, but I haven't had much luck... But I've only been mucking around with this for less than 2 weeks.
Importing a design from Inkscape doesn't usually end well and I found it better to just start from scratch.
First off, you'll need to experiment a bit with the cutting force. Also, you'll need to pay attention to fonts. Smallish fronts will have some issues with cutting really fine details, or the middle parts of letters like e, P, O, etc.. If it's a fine detail that is surrounded by lots of vinyl there's no problem. I cut out 1/8" circles for marking drill points with no problem.
On to the important stuff!
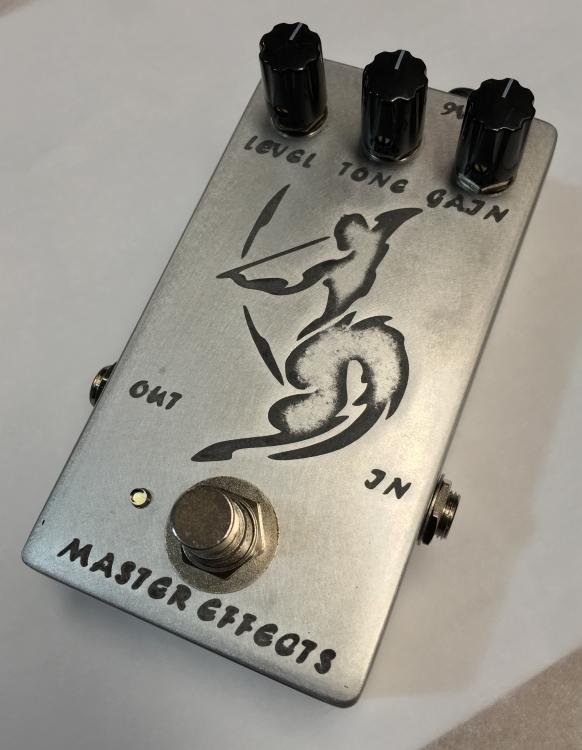
The mask took about 2 or 3 minutes to cut. Transferring to transfer tape and applying the vinyl to the enclosure probably another 2 minutes. Let's say it took longer for the nail polish to dry around the perimeter of the vinyl than it took to print and apply the mask.
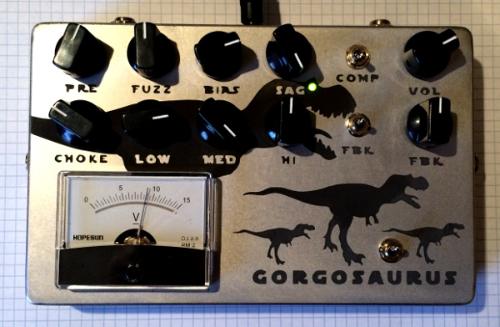
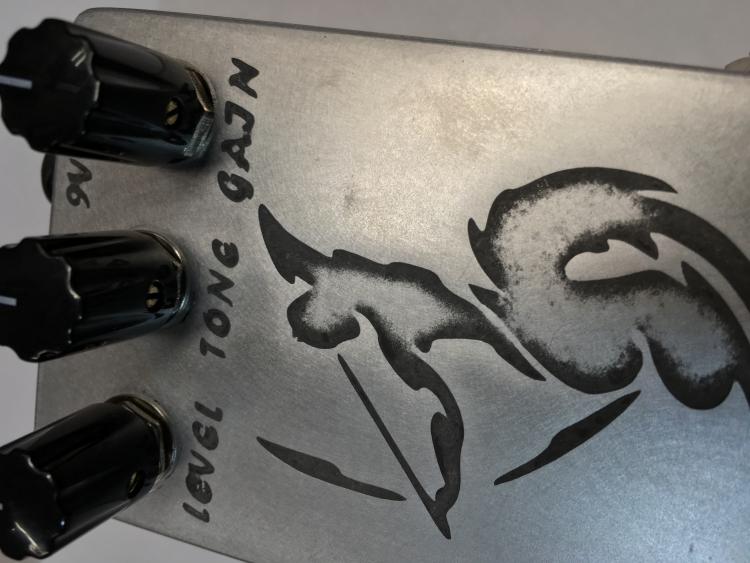
This was a 20 min etch in warm ferric. I think I could have stopped at 15 min and masked off the text and continued with the graphic for another 10 min... I got a bit too much bleed through on some of the letters.
Toner transfer has its place, but I think this will be my main method of generating etch masks from now on!