Lovetone Meatball

classic Classic list List threaded Threaded
8 messages Options
Reply | Threaded
Open this post in threaded view
|

Lovetone Meatball

JaviCAP
Administrator
Circuit finished and enclosure just painted, hope to box it tomorrow- monday (still have to wire the 6 jacks :P)

Board is quite easy, ans is extremely more tolerant to octocouplers than the Mutron III, but really the words "pain in the ass" get into a new dimension when talking about the pots and switches wiring.

First I wanted to build it with a pcb and real vactrols, but after some accounting, the expense was massive, so i thought "No fear", and took Harald's layout and the schematics.

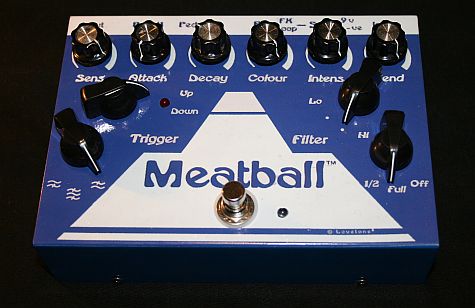
Seven hours to build it! Absolutley insane. The effect itself sounds great, besides the typical autowah, you can get lots of amazing sounds, and the internal loop and blend pot are a great adition.

Love the effect but no way will build another one!

Reply | Threaded
Open this post in threaded view
|

Re: Lovetone Meatball

dexxyy
Built mine about 3weeks ago, still haven't gotten round to boxing it yet, off board wiring was such a pain I can't seem to motivate myself to plot out the drilling etc yet. Great effect and really glad I built it, but no way I'd do another either, once is deffo enough.
If it wasn't for this website I would definitely have a life.
Reply | Threaded
Open this post in threaded view
|

Re: Lovetone Meatball

GoranP
In reply to this post by JaviCAP

That's great Javi, I'm still on my "lovetone collection" hunt so all information is welcome!

I still may go down the pcb route but good to know this one works as well. Two questions:

- vactrol details?
- wheredya get the rotaries?
Reply | Threaded
Open this post in threaded view
|

Re: Lovetone Meatball

JaviCAP
Administrator
In reply to this post by dexxyy
I drilled my enclosure previous to do the wiring, with pots and switches on their final location to try to reduce the mess, so I just had to paint it. No doubbt that had not drilled it before, would not have done  in months.  Really painful wiring.

Goran, for the optos: two  GL5539 and two red difused leds. I used difused ones as this layout uses no trim, so no possible to fine tuning, and worked quite well, don't know if would be possible with ultra bright ones. With the Mutron you have to adjust the leds, so i used ultra brights at the expense of using a bigger than recommended trim.

Rotary switches: Can't be of much help, as these ones were purchased at my local store (3.25 euros / piece) but seems the same or very similat to these ones:

http://www.ebay.es/itm/5-4-Pole-3-Position-PANEL-Wiring-ROTARY-SWITCH-4P3T-/320790768151?pt=LH_DefaultDomain_0&hash=item4ab09eaa17#ht_810wt_1163

You need 3x 4P3T and 1x 3P4T (is the easier combination).

Enclosure: You need a huge one and some people recommend the 1590DD. As I had no chance to get it at a  reasonable price (price and S&H is insane for this enclosure) I used a Retex RM12. This is a spanish made enclosure, so don't know if possible to get it outside my country at a right price. Here the cost is about 12 euros.

BR

Reply | Threaded
Open this post in threaded view
|

Re: Lovetone Meatball

GoranP

Thanks Javi! I'm sure to have more questions once I finally start my build.
 
Reply | Threaded
Open this post in threaded view
|

Re: Lovetone Meatball

JaviCAP
Administrator
Whenever you want Goran :)

Well, finally  boxed!

Reply | Threaded
Open this post in threaded view
|

Re: Lovetone Meatball

Dave
Brilliant build, I too am interested in constructing one of these. I take it you used Harald's layout?
Thanks
Dave
Reply | Threaded
Open this post in threaded view
|

Re: Lovetone Meatball

JaviCAP
Administrator
Yes, used Harald's layout. Just changed a few details:

- Used a 3P4T rotary  (as in the original) for the Sweep switch instead of a 3PDT as appears on  Harald's layout.

- The other 3 rotaries are 4P3T, easier as you have not to reconfigure the switch. 3 postios are needed for all of them.

For this layout, Harald used the schematic from www.pisotones.com, and lacks the wiring for the Pedal 1 and Pedal 2. The Pisotones web explains the way, but is in Spanish. If you don't get the trick when you build it, I can translate it :P

BR