Mnemotechnic tips & tricks when building?

classic Classic list List threaded Threaded
9 messages Options
Reply | Threaded
Open this post in threaded view
|

Mnemotechnic tips & tricks when building?

Blackboarcult
I'm not sure if this is gonna be popular or not, but hey, who knows...

I thought it would be cool if we could share the tips and tricks we use when building, e.g. wiring, IC pins count, component value verification, etc etc.

I'll start with a rather silly one:
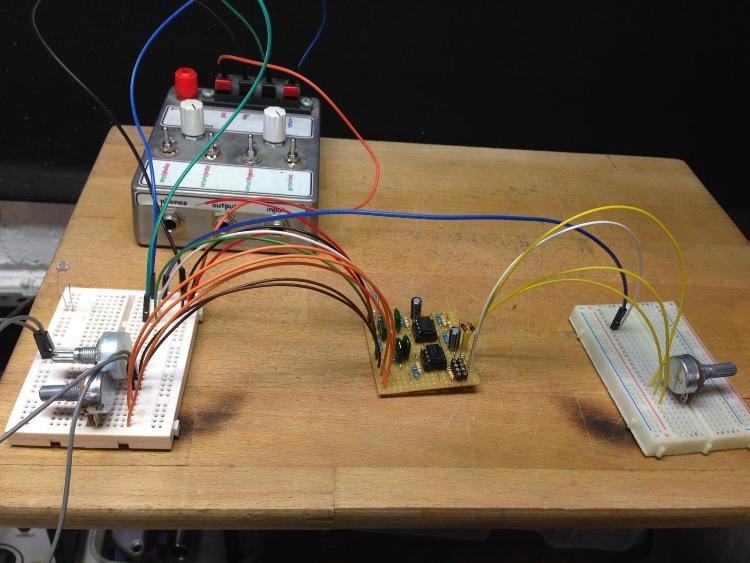
I've recently started to wire my pots with white lead on 1, red lead on 2, and black lead on 3, on account of one of my favorite songs, "The Four Horsemen" by Aphrodite's Child.
"The leading horse is white,
The second horse is red,
The third one is a black,
The last one is a green"

This way I know which lug it is with any pot orientation or mess in my breadboard

Please share your knowledge if you feel like it, we can all learn from each other... that's what forums are about

Reply | Threaded
Open this post in threaded view
|

Re: Mnemotechnic tips & tricks when building?

Frank_NH
For veroboard builds, I spend a bit of time prepping the boards.   I use Dremel drill bits in a drill press to cut all the traces, then inspect and correct any traces which aren't cut through cleanly.  The most important step is to check that there is no connectivity across each and every cut using my DVM (the connectivity mode beeps when there is a short across a cut).  As final step, I lightly polish the copper traces with 1500 grit paper, clean the underside with a rag, and do a final visual inspection.

I've found that the probability that my circuit will fire up first time has greatly increased after adopting the board prep described above...
Reply | Threaded
Open this post in threaded view
|

Re: Mnemotechnic tips & tricks when building?

Blackboarcult
Nice way to decrease the possibilities of debugging

As for me, I always check my veros through a magnifying glass AFTER soldering, and if I see spots that may be bridged I run a blade through tracks, plus check all lines against their immediate neighbours with a multi-meter and clean all with a toothbrush just in case. Call it "preventive debugging" even before trying to fire it up.
My wife runs a tattoo parlour and gave me an old tattoo floor lamp with a gigantic magnifying glass, I drilled my workbench to stick the lamp on it so any soldering, breadboarding or build goes through careful inspection through it ;-)
Reply | Threaded
Open this post in threaded view
|

Re: Mnemotechnic tips & tricks when building?

aelling
In reply to this post by Blackboarcult
Always test the circuit before boxing it. Build the test box if you haven't already, it's really handy testing things out.
https://tagboardeffects.blogspot.com/2014/09/test-box-20.html
Reply | Threaded
Open this post in threaded view
|

Re: Mnemotechnic tips & tricks when building?

Frank_NH
aelling wrote
Always test the circuit before boxing it. Build the test box if you haven't already, it's really handy testing things out.
https://tagboardeffects.blogspot.com/2014/09/test-box-20.html
Absolutely!  I have a test rig that I use for this purpose (and more).  I just wish there was an easier way to connect the control pots temporarily to the board wiring for testing purposes, but alas I use alligator clips and it ends up looking like spaghetti...
Reply | Threaded
Open this post in threaded view
|

Re: Mnemotechnic tips & tricks when building?

Muadzin
In reply to this post by Frank_NH
I always used to use different colors for wires as well. Green for 3, white for 2, yellow for 1. And always use a DVM to check for connectivity as well. Both after you've prepared the vero and after you've soldered in the components.
Reply | Threaded
Open this post in threaded view
|

Re: Mnemotechnic tips & tricks when building?

Blackboarcult
In reply to this post by Frank_NH
I've found my way around this by using terminal blocks for all wire in/outs on my veros, and by always keeping a couple of pre-wired pots for every common value I use (A1M, 100K, 50K, 220K, etc) at hand. Usually salvaged from old amps or old builds, and wired with jumper terminals so I can also use it when testing circuits on the breadboard
Reply | Threaded
Open this post in threaded view
|

Re: Mnemotechnic tips & tricks when building?

bogey
In reply to this post by Frank_NH
This is the method I use for pots.....


makes it easy to test different pot values and it helps keep all my wiring neat and tidy. You can also make any switch connections using jumpers.
Reply | Threaded
Open this post in threaded view
|

Re: Mnemotechnic tips & tricks when building?

HamishR
In reply to this post by Frank_NH
My habits are slightly different.  It's rather more basic I guess!  I always use yellow for gain/boost, black for ground, red for 9V, white for tones and green for bias/whatever else.

Board prep is simple - once I've drilled off the traces for tack cuts I brush it with a stiff brush to get any residue off and then smooth the edges of the board with a belt sander.  I smooth the sides after doing the trace cuts because my sander is out in the shed and sometimes I will make a mistake in the trace cuts so have to cut another board.  So it saves a trip to the shed.  :-)

Always inspect the board after trace cutting with a magnifying glass and also after soldering everything to the board to check for links.  One thing I do after finding an inadvertent link is to use a tool like a small screwdriver to clear the track which leaves some flux dust over the track.  So I may reheat the solder around it which melts the flux again - it makes seeing potential issues a lot easier.

One reason I don't like to socket transistors is that after a while the socket gets noisy.  So I always solder the trannies to the board.  ICs in sockets are generally fine but trannies inevitably get noisy IME.  For builds with Ge trannies I will socket them then once I have found the trannies I want to use I'll desolder the socket and install the trannies to the board.