Nothing new here.
just thought that after finishing my sagan delay, i should upload some pictures just for reference.
also i'll try to write down some tips and time saving "tools" and supplies that i always use, and help me speed up my process.
1.
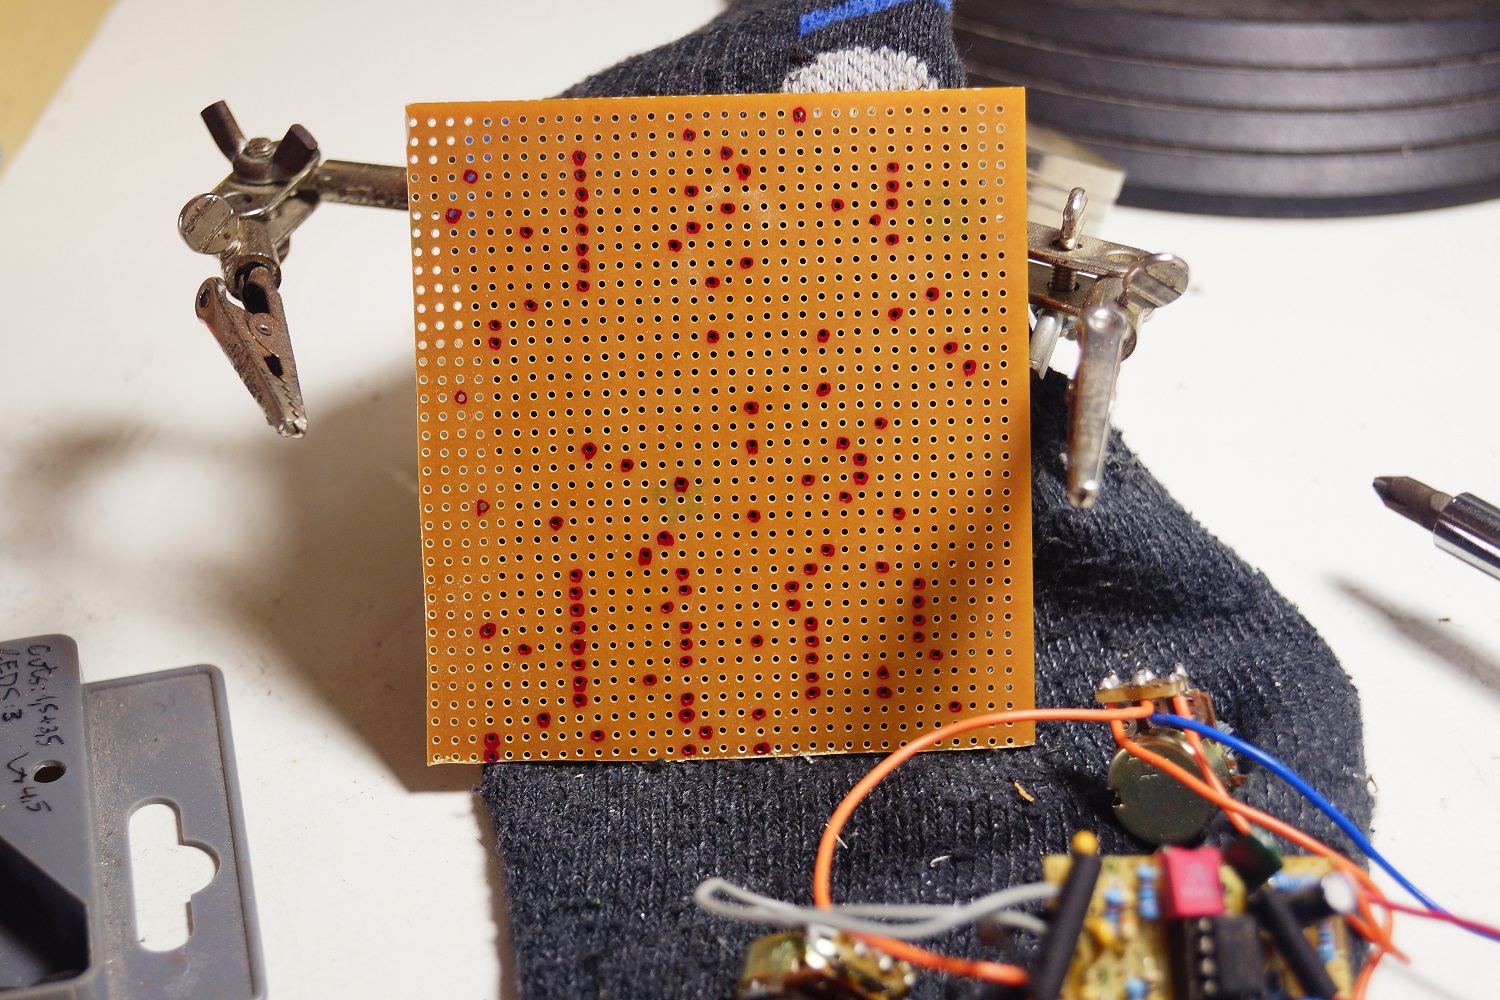
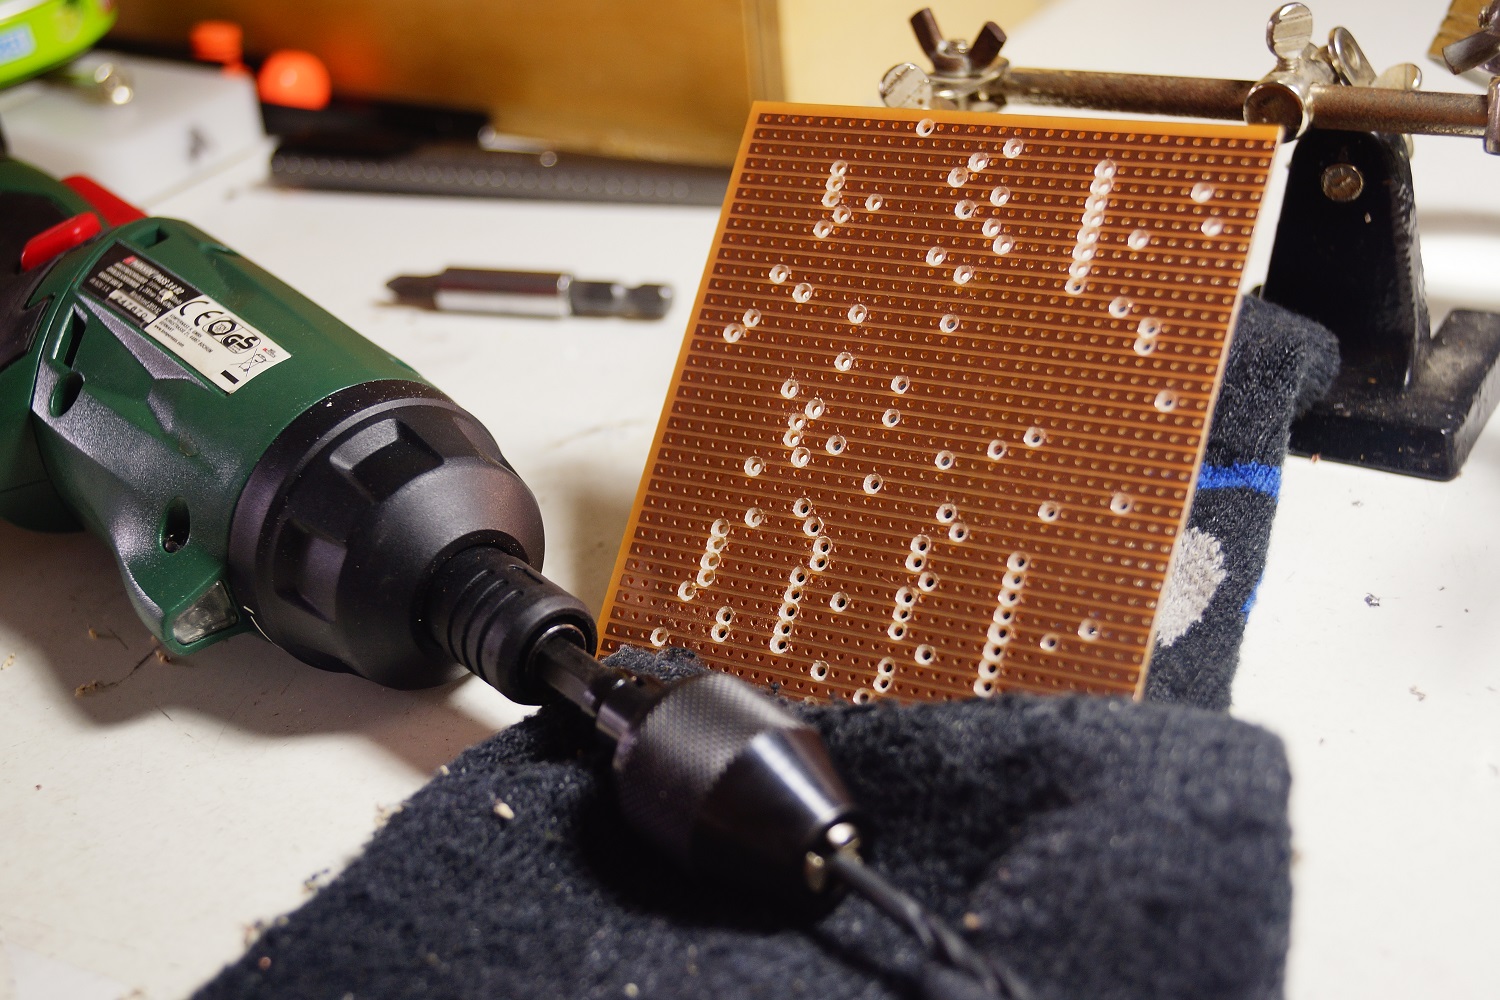
get a dremel-like tool! you can find one at about 20 euros-$. it helps a lot in cutting your board fast and clean. i also cut with dremel those little 2x5 stripboard for my pots. after that, mark your cuts.
2.
write down a list with all drill sizes you use in every step.
for cuts i use 1,5 from the upside, and then i clean the copper side with a 4,5.
i also now got an electric screwdriver.
i used to use a common drill for this job, but this little thing has enough power for vero drilling and it's much easier to use.
also bought the extra "drill holder"(i don't know how this is called)both of them costed me at about 30 euros.
3.
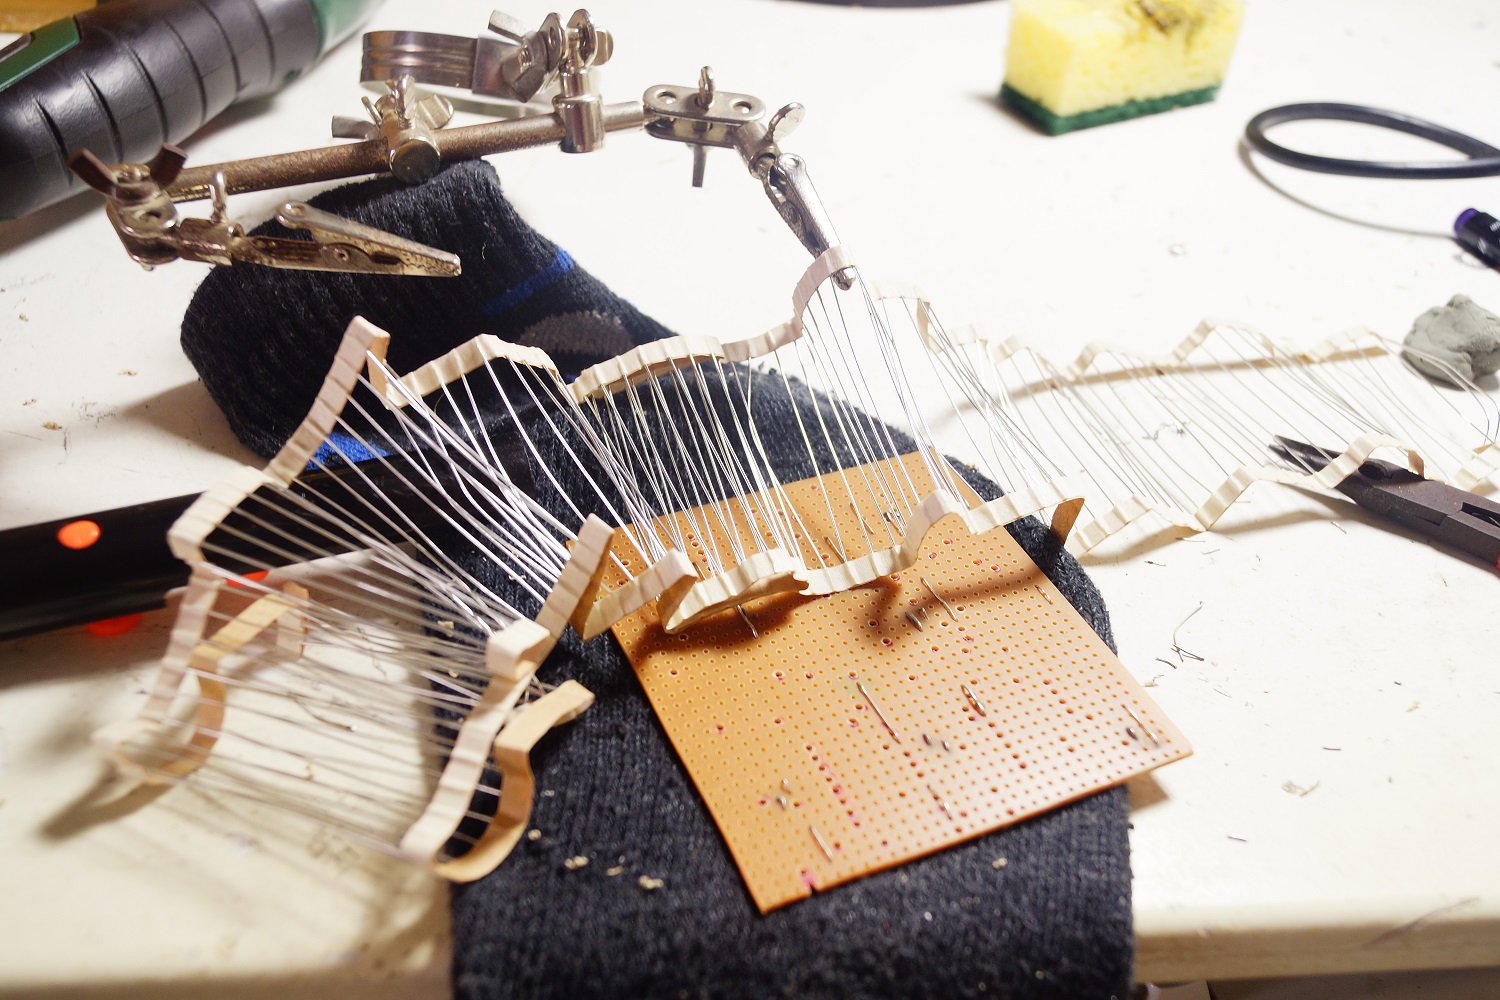
search for those links!!!!
this was the first build that i used them!
no more wires for all that long links that Alex (and myself) use in those big veros!
4.
i ALWAYS use this faber castell art eraser to hold components in place.
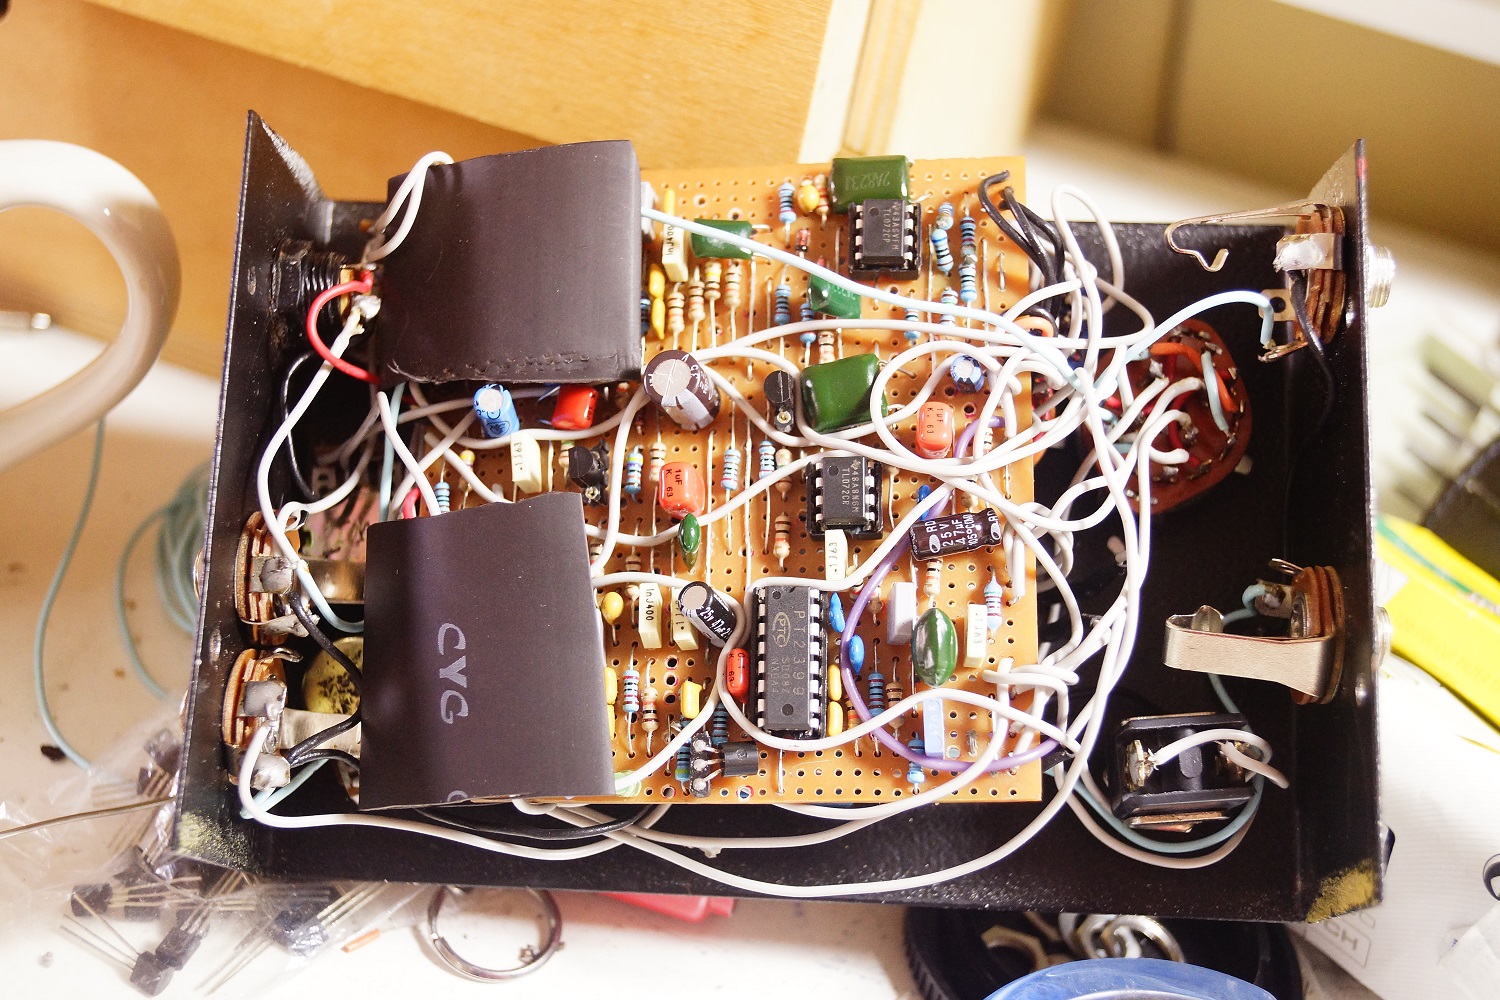
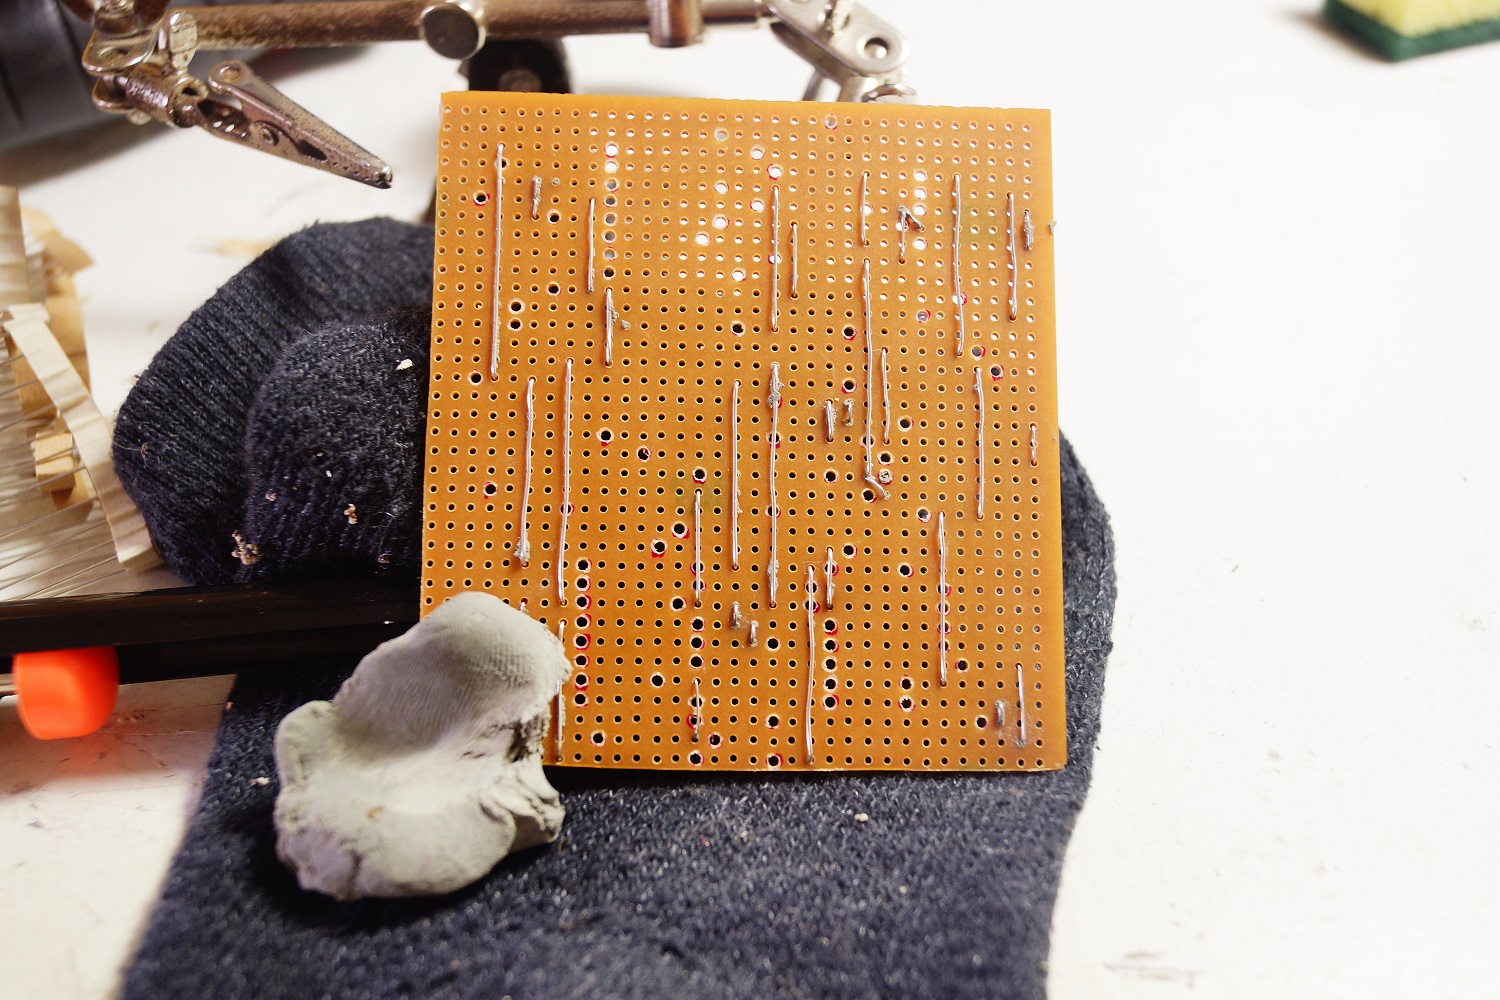
http://www.grandportraits.co.uk/blog/recommendations you may laugh about that, but i also ALWAYS use this old sock...over than a year ago i needed a surface that would prevent the slide of the board when i work on it...the sock was my solution...ok...enough...stop it!
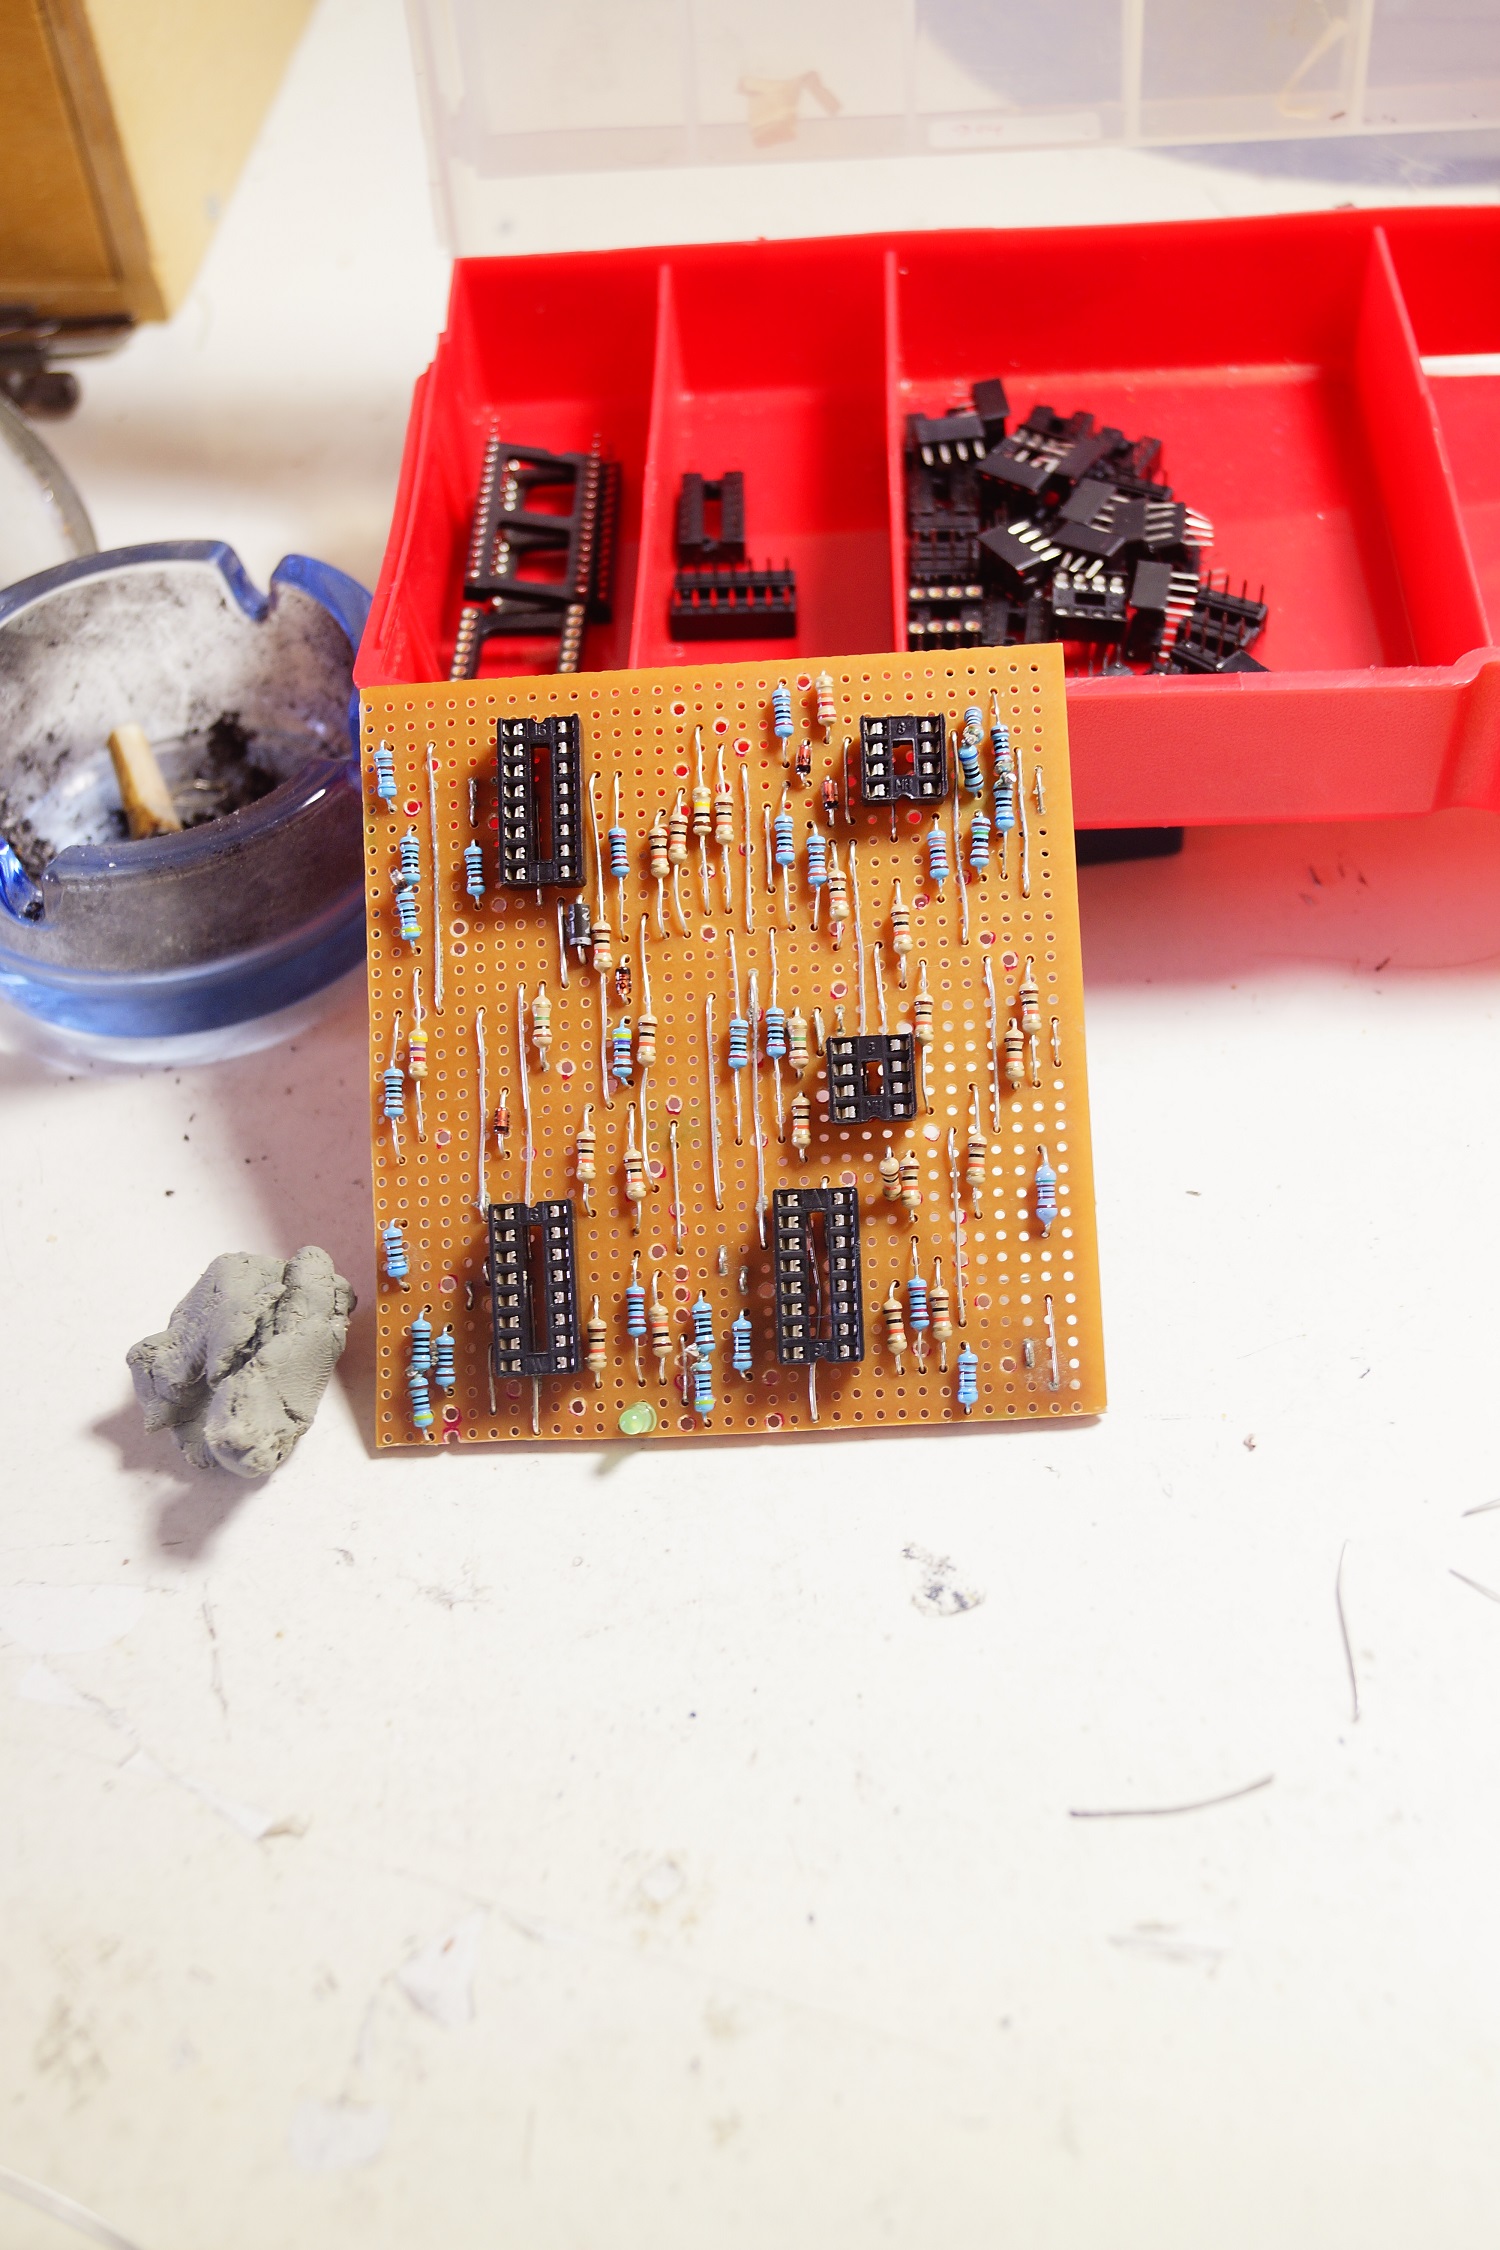
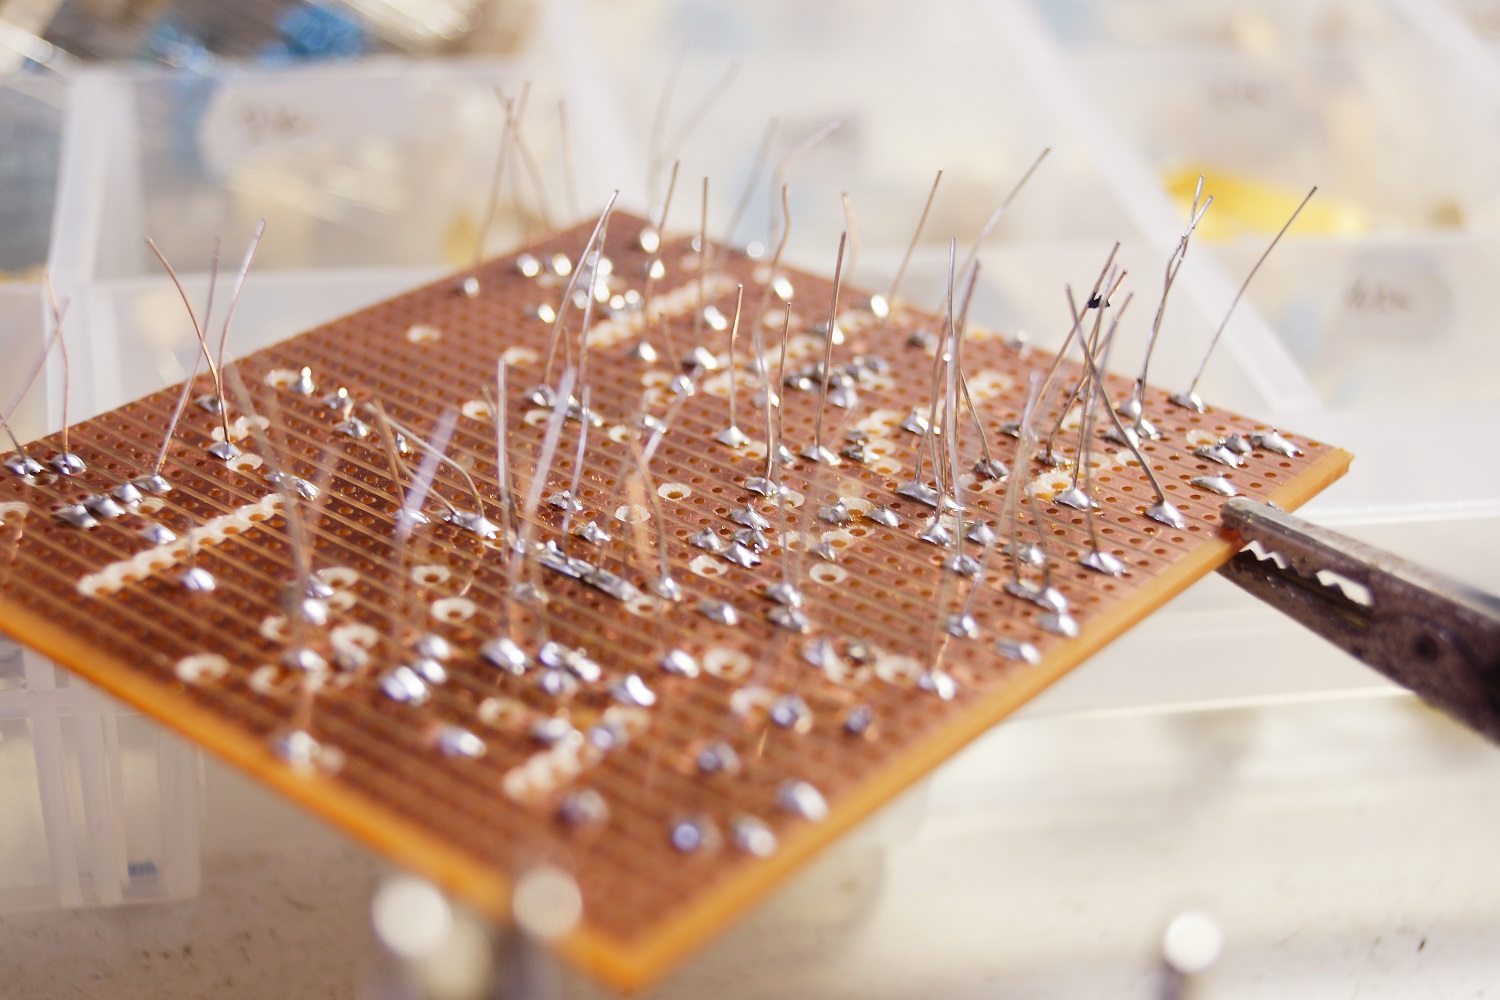
i place on board as many components as i can
.
now it's time for a smoke...
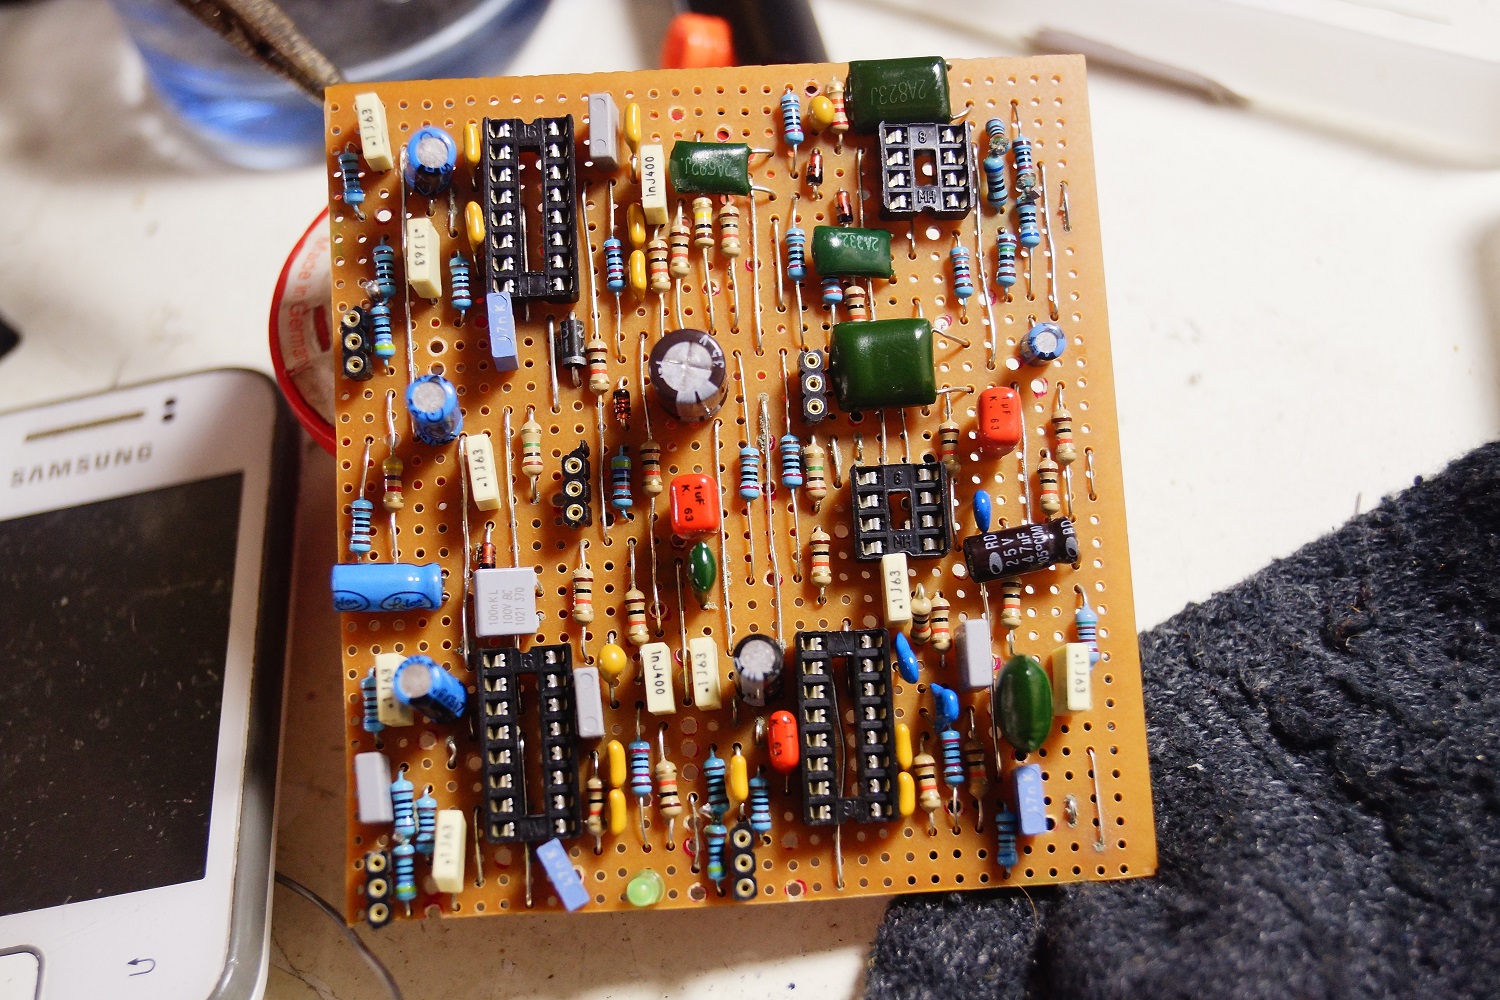
sockets and caps...nothing special here..
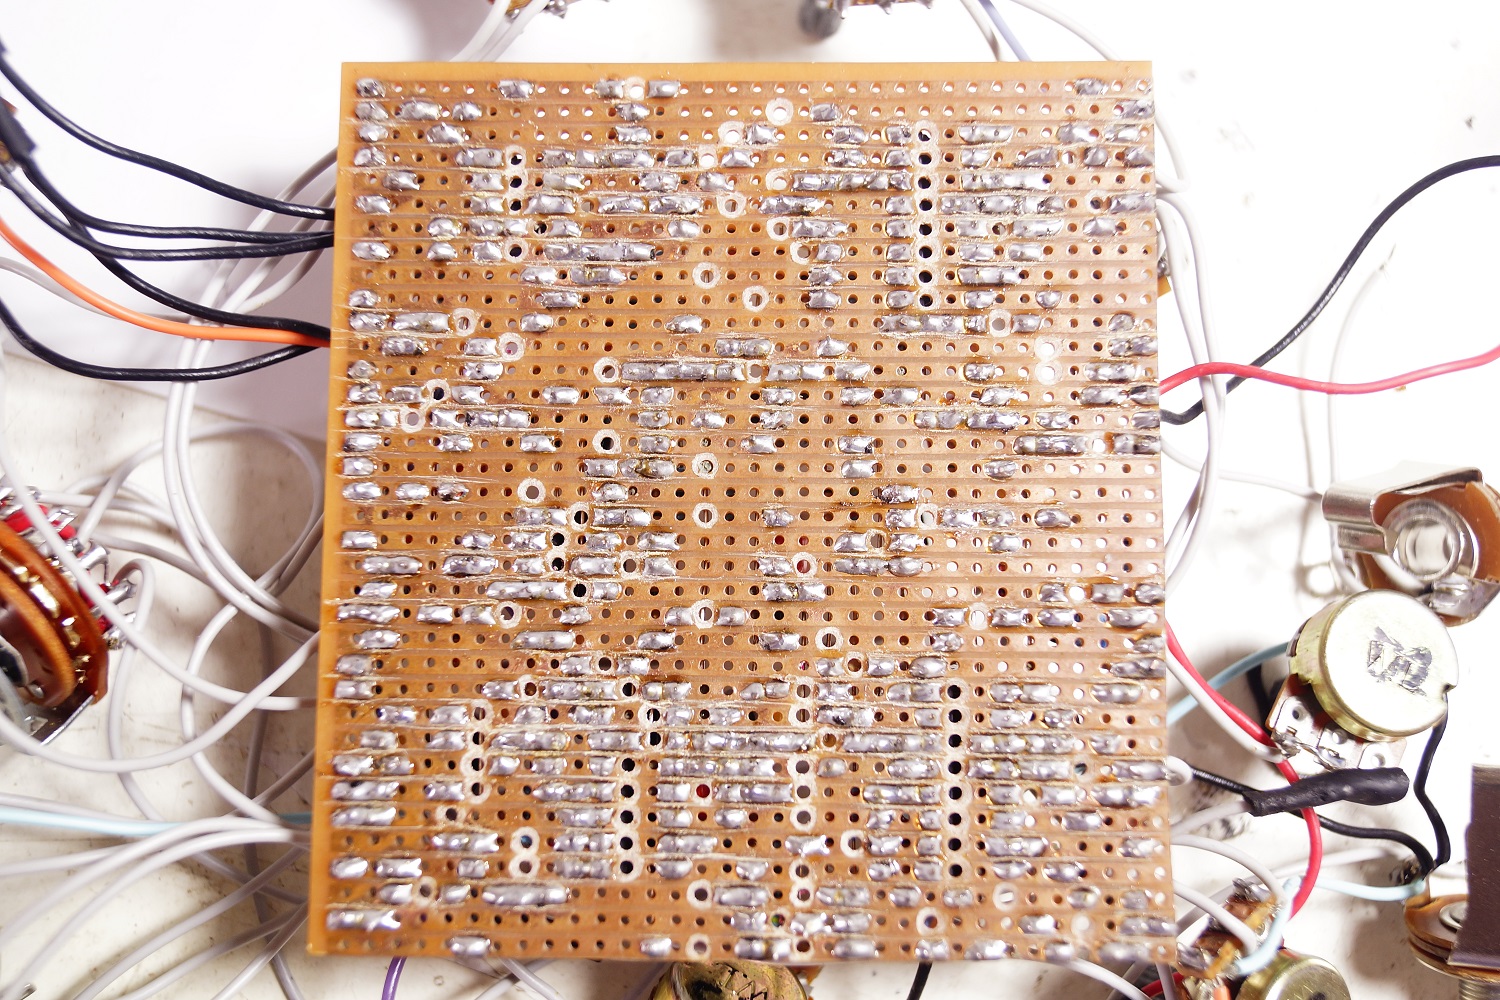
the backside here
5.
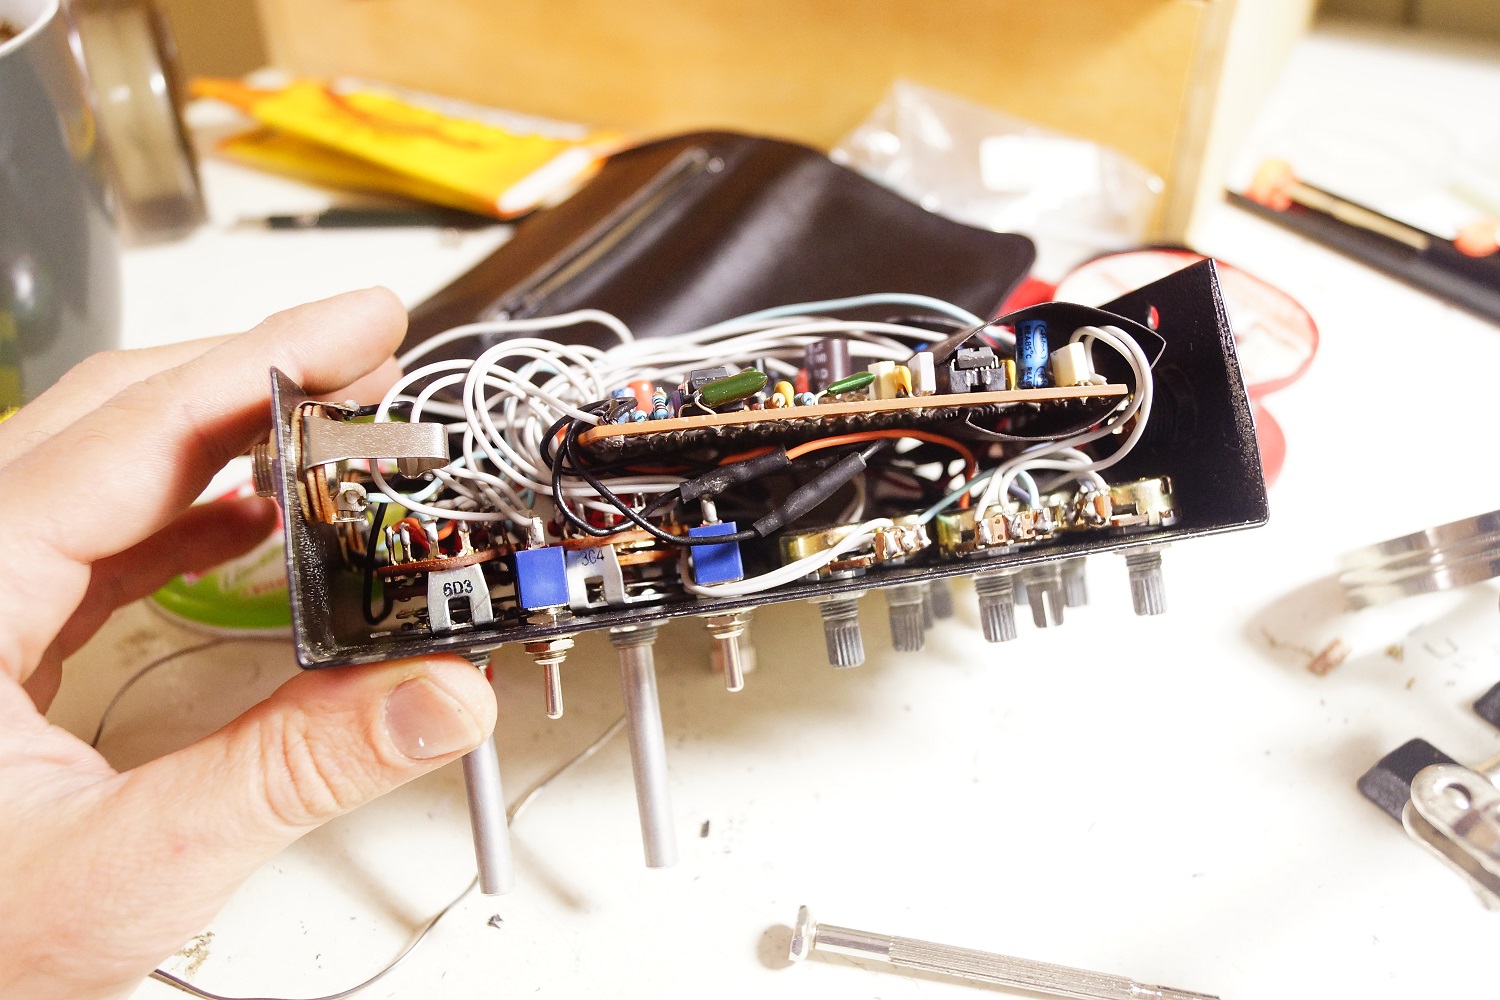
after finishing the board, i use the neat boxing guide
you maybe not believe that i've used this guide by seeing the results, but
10 pots,
4 jacks,
2 toggle switches,
2 rotary switches and
2 footswitches,
all of these along with a monster board in a shoe box, was too hard to make it look pretty too...
and now the "demo"
i forgot to mention that i've used here an old box from the 8band eq i've build and sadly never used it.
so it already had some holes on it that i had to re-use too...
controls:
rot1-drykill switch-rot2-tails switch
pots:
first3 level1-2-3
treble-bass
delay1-2-3(with knobs)
feedback(with knob) and mix next to it


 .
.