U-Boat Help

classic Classic list List threaded Threaded
4 messages Options
Reply | Threaded
Open this post in threaded view
|

U-Boat Help

Lumpy58
I completed the U-Boat vero off the blog site, and have signal passing and some octave behavior, but I get a squeal when engaging the switch.  Have gone over the components, board, wiring, checked continuity, scored and cleaned grooves, changed out ICs, etc.  Audio probe could not isolate the source. For reference I refer to the ICs per the build doc provided from the link in the blog.  With the LM833 in place as IC2, it squeals with most any other op amp in IC4.  Have tried a TL082, TL062 (better), NE5532 (also better).  Then I switched IC2 and 4 to test the 5532 as IC2 and 833 as IC4.  No squeal, but only some octave behavior.  Pics and voltages attached.  Any guidance on the squeal is greatly appreciated.

Reply | Threaded
Open this post in threaded view
|

Re: U-Boat Help

bowanderror
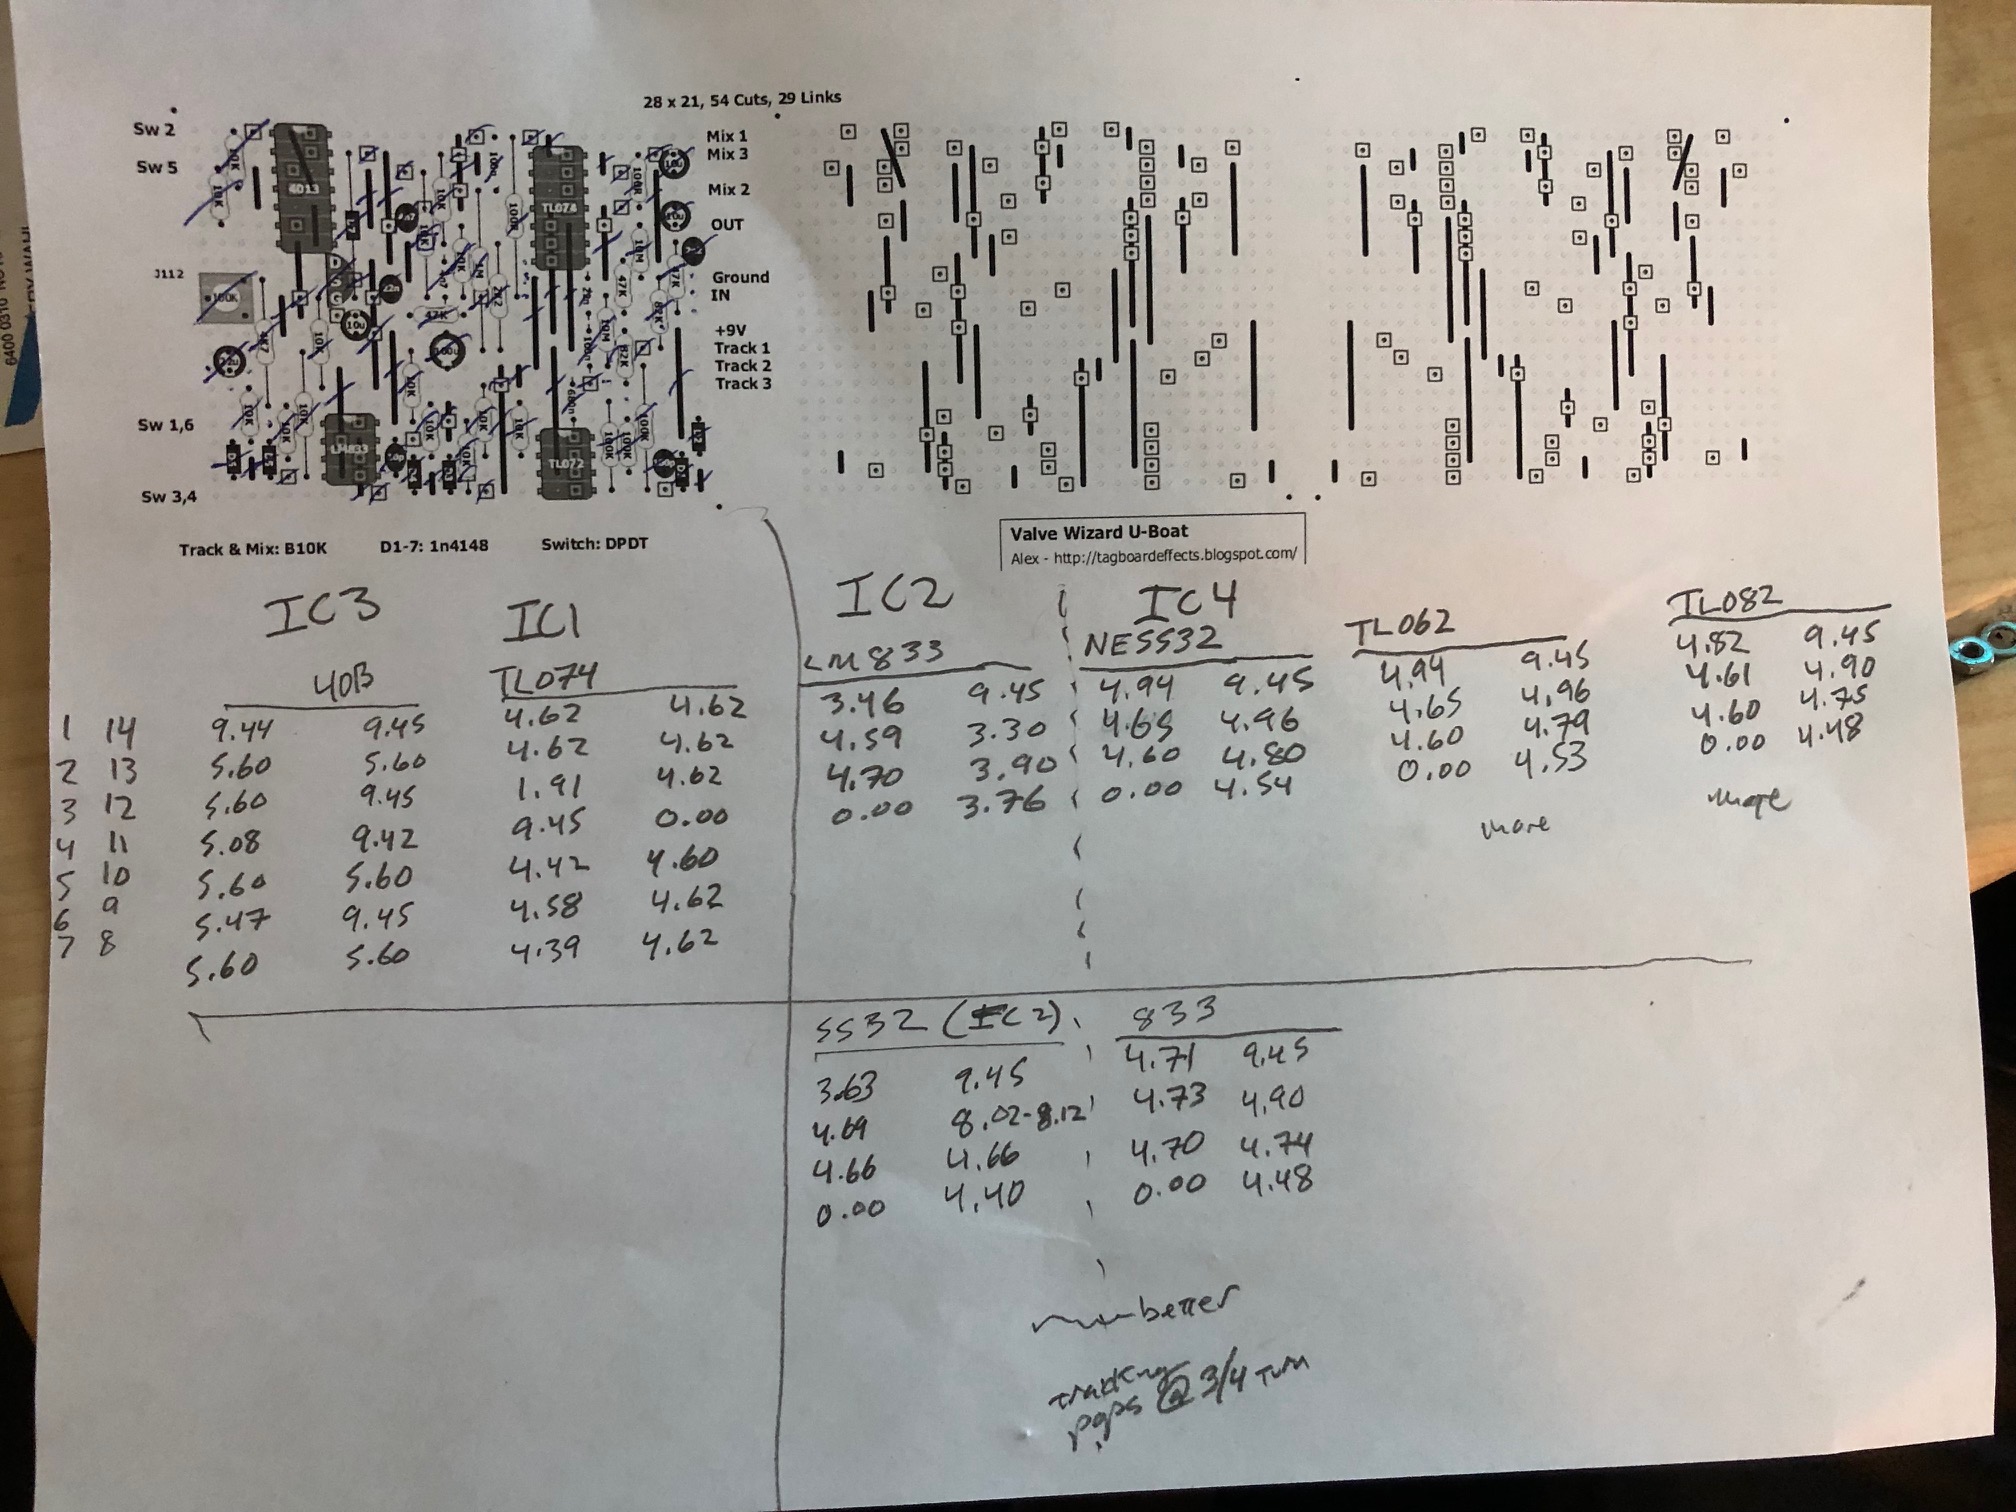
Without having access to the schematic, it looks like the ICs are getting the right power, although I would have expected pin 7 of the CD4013 to reference 0V (ground). Usually, squealing means something is floating (not connected) and turning something into an oscillator. In this build, it could also be that the suboscillator is shorting or leaking into the audio path, or the oscillator is not being controlled properly.

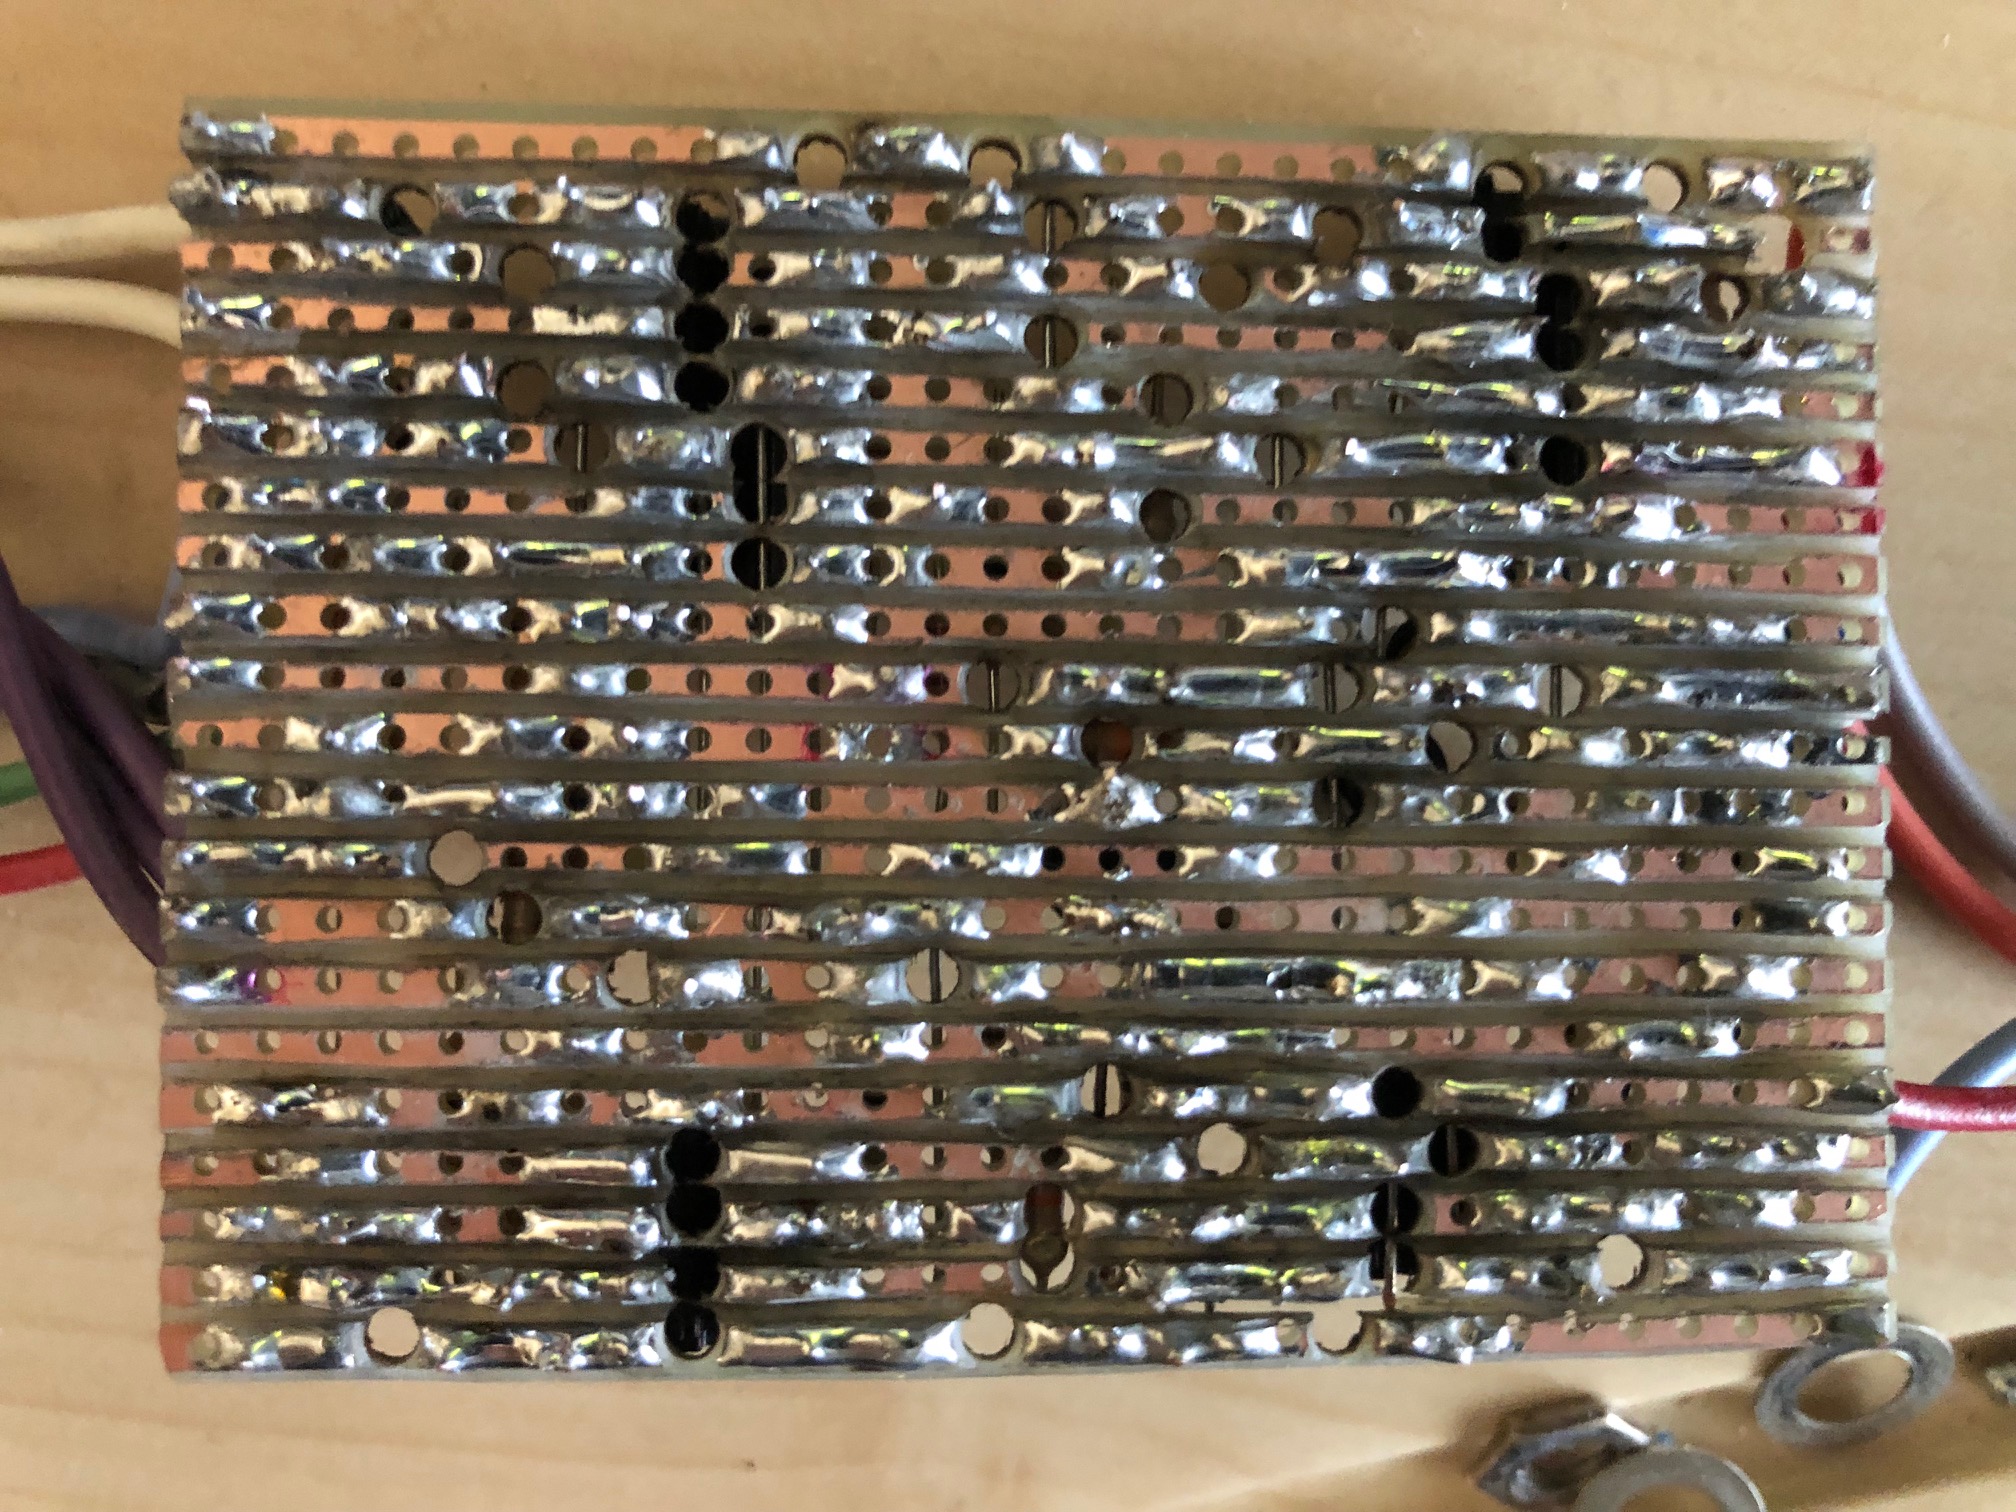
I've marked up the photo of the rear of your veroboard (and rotated it to match the flipped layout). There is one lead that looks to not be soldered completely, so I would reflow that. There is also a lot of damage to the vero traces, either from a being rubbed off mechanically or dissolved off chemically. Did you use an abrasive or corrosive chemical to clean the board? I didn't highlight all of the potentially disconnected traces, so your best bet is going to be to run solder across each connected trace to ensure they are connected.


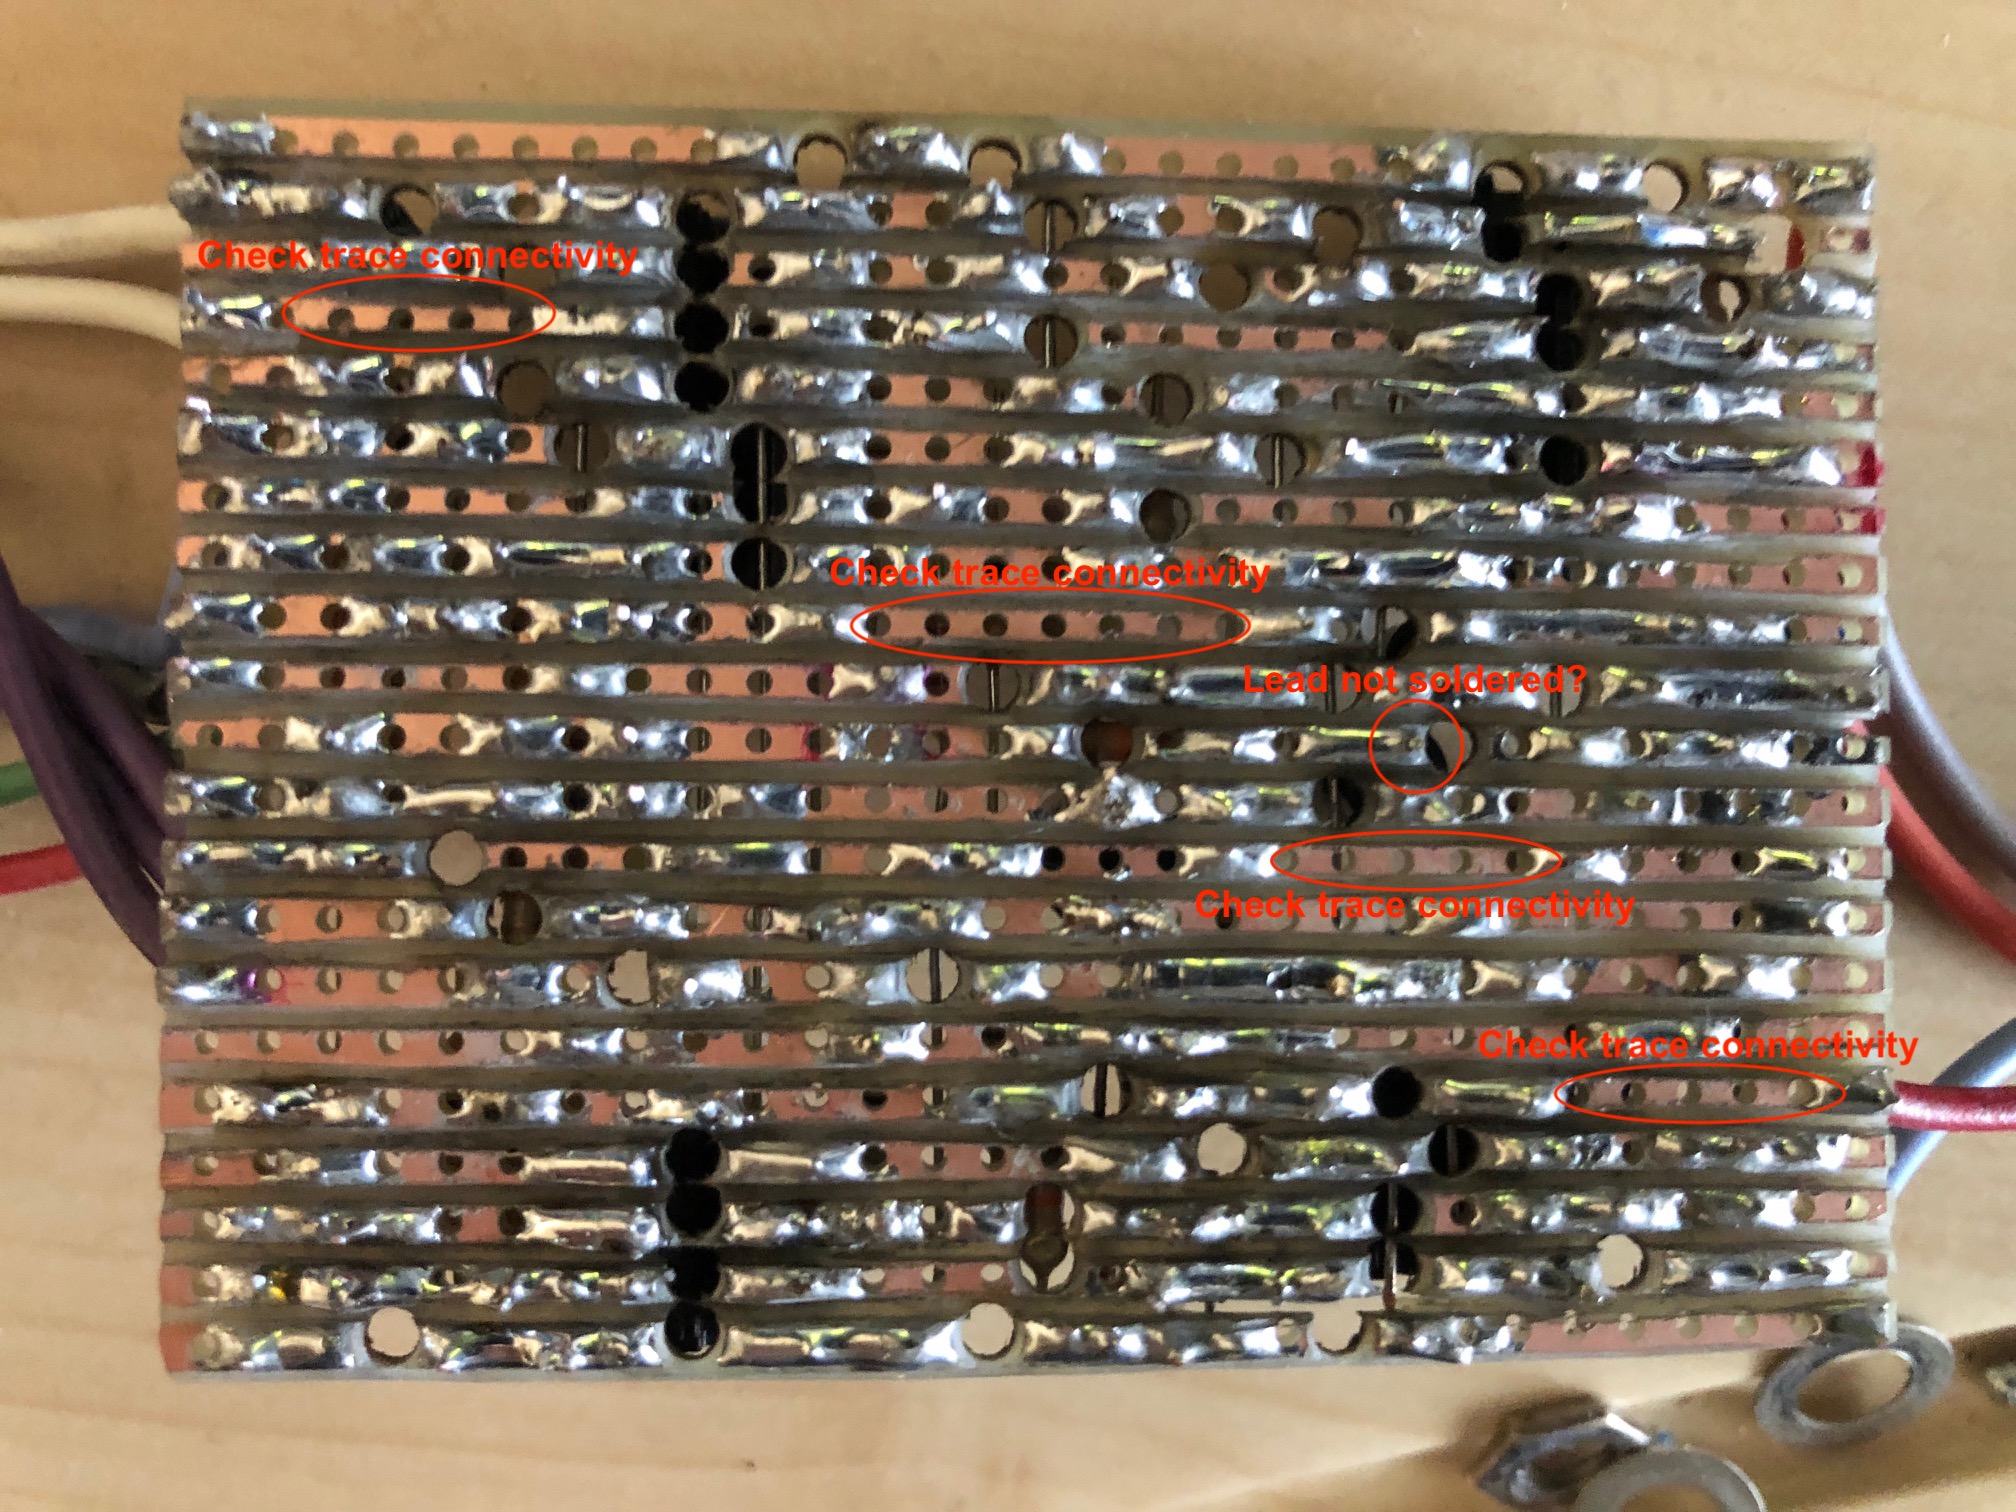
You can avoid these issues in the future by inspecting the board before cutting as some cheaper veroboards may come with damaged traces. I usually have to sort through lots of the cheaper boards to find ones that look the best and just bin the rest. You also may want to adjust your soldering iron temperature, it looks like some joints are lumpy & cold, which can be the result of low iron temperatures & a dirty tip. My advice for anybody is to clean & tin when you pick the iron up, and clean & tin again before you put it down. That will ensure you've removed the old solder oxide layer (which doesn't flow onto your board) and extend the life of your tip a LOT.
Reply | Threaded
Open this post in threaded view
|

Re: U-Boat Help

Lumpy58
In reply to this post by Lumpy58
I checked all those continuity areas, and everything checks out.  I used CRC contact cleaner spray on the top, which leaves that appearance, but doesn't affect the circuit.  My traces are scored with a dremmel wheel, which can get a bit rough on occasions.  The boards I use are ST2 from AES.  They are fine until I abuse them like this.  I am thinking the oscillation is from a short around the trimmer.  

Thanks again for your help!
Reply | Threaded
Open this post in threaded view
|

Re: U-Boat Help

Drayve85
I definitely wouldn’t use a dremel wheel for that, it’s taking too much real estate off the board. I use a ‘hobby’ saw from hobby lobby, it has real fine teeth, and a thin blade. But, I’ve used a piece of a hack saw blade before, which is a closer width to the vero board. It does look like your iron is cold, and there’s too much solder on there. Hope this helps!!