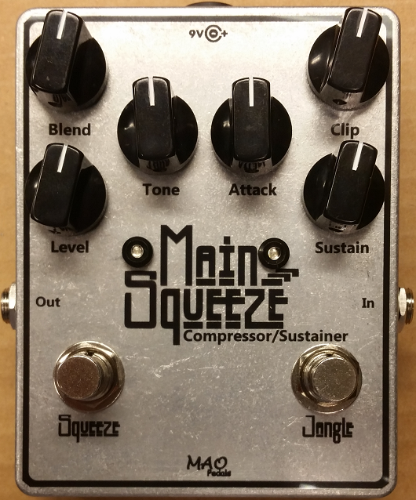
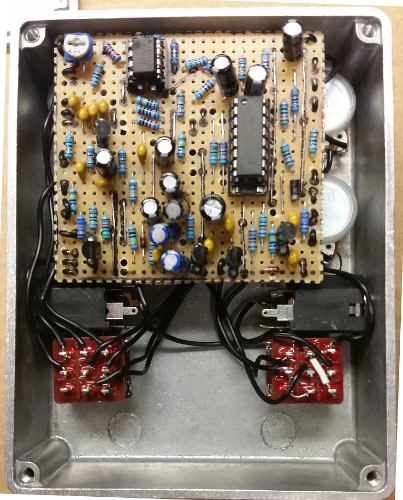
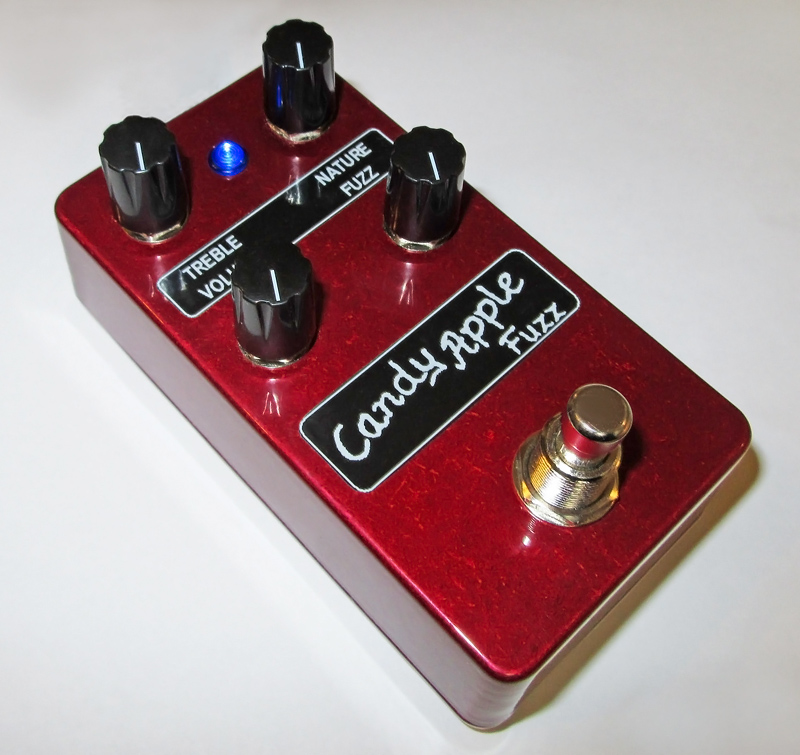
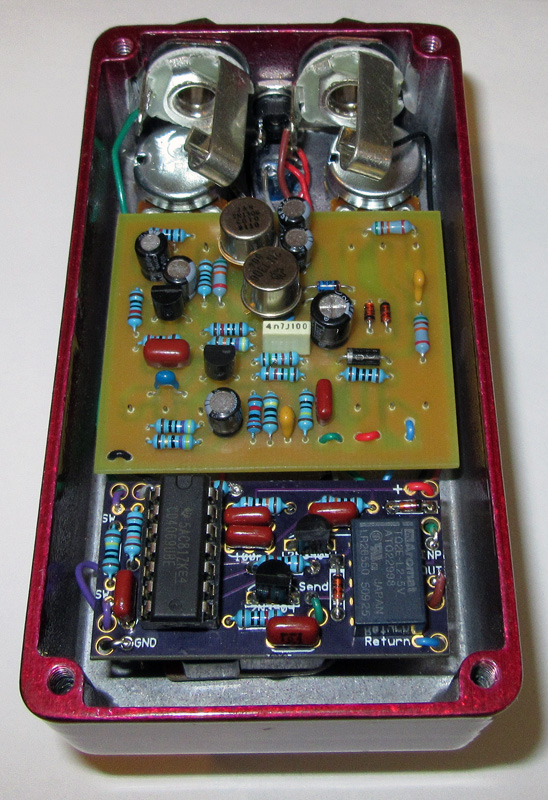
Show your pedal guts!
1 ...
58596061626364
... 91
1 ...
58596061626364
... 91
|
Administrator
|
My advice is to do your screenrpinting at the school if possible. Obviously it's possible to do it at home but it is extremely messy and you probably don't want to buy the curing unit or exposure unit or pressure washer etc not to mention all of the chemicals and inks
I don't know of an a-z video for powdercoating really but it's pretty simple. If you have an air compressor you can get started for <$300. If not, the air compressor is probably the most expensive part. I got the harbor freight powder coating unit for $65 and it works well. You'll want buy extra containers for the powder that fit the gun which I can link to if you're interested. You just hook up that gun to your compressor (with a desiccant) with the psi on your compressor set to 25-35 psi. Hang the clean enclosure on a grounded, conductive piece of metal. The harbor freight unit has an alligator clip which provides ground. Basically what I do is clip the ground connector to a metal rod, and then hang the enclosures off of it with a heavy guage bare copper wire which I bend to shape. Having the enclosure grounded is the most important part because this is how the powder sticks to the enclosure Hold the gun at least 5 or 6 inches from the enclosure during spraying or you will arc electricity from the tip of the gun to the enclosure and it will leave a mark in the powder. Any defect in the powder that is visible before curing probably won't go away after curing, so if you see a defect it is best to clean off the powder and start over before curing Then you need an oven which you don't cook food in. I use a black and decker toaster oven which is nice and large, and I hang the enclosure from the heating elements inside the oven. The temperature and cure time depends on the powder you are using I like prismatic powders. The most delicate part of the whole process is handling the enclosure while the powder is uncured. At this stage, anything that touches the enclosure will ruin it, so I use a long pair of needle nose pliers to hold it by the hook when I transfer the enclosure into the oven. The long pliers are handy for moving enclosures in and out of the oven without burning your hands. They have long pliers at harbor freight as well. Before you spray your piece, make sure your hook is at a good length so it will hang in the oven without touching anything You can apply multiple coats and layer trans finishes over other finishes. The way you do this is to partially cure the first coat before applying the next one. Put the piece in the oven and watch until the powder flows out into the state of its final appearance, which may be smooth and glossy or textured depending on the finish. At that point remove it from the oven and let it cool before applying the next coat. Once you have the final coat you can do the full cure Check out this info http://www.prismaticpowders.com/resource/knowledgebase/ If this sounds like too much money or work you could always bring your enclosures to a local powdercoating shop. Bring as many as you can at one time for the best price. They will charge more if you want to do different colors, because it is more time consuming to change colors |
|
Hi guys.
The enclosures are type of material that is not 100% aluminium. Aluminium it self its very hard to paint because it needs a chemical reaction between the metal and the paint usually oxidation. Unfortunately aluminium does not corrode and doesn't react to alcohol :D so you have limited options left: 1. Trevis advice (the best choice best quality will be to give the pedal to be powder coated since the paints are pretty dangerous to inhale) 2. Mirror polishing (its time consuming and sometimes boring) 3. Stickers (quality vinyl sticker laser printed that will look cool from the top and bad from the sides) 4. Expensive primer based on acid!!!!!!! 5. Pedal etching :D Ha funny....because from this you can do something else: Clean the enclosure very very good. Use your favorite formula for pedal etching solution (be careful safety first etc). Put the enclosure inside the acid and let it stay till gets black. Carefully clean it under water and brush it with fine greed sand paper. Don't bring it to complete shine it has to be mate and you can almost feel the pores created by the acid ( don't rush and don't over do it, try on peace of aluminium first) Then take the finest primer in a spray can then you can get (usually for aluminium car rims) and spray 2 light cotes. After they dry spray the enclosure with any good spray color that you can get :) This is my long long long long explanation about how I do it :) |
|
This post was updated on .
Just finished a Doctor Q for a friend. Sounds cool with a strat, too.
I recently started to experiment with toner transfer. I like this grungy look if the transfer is not 100%  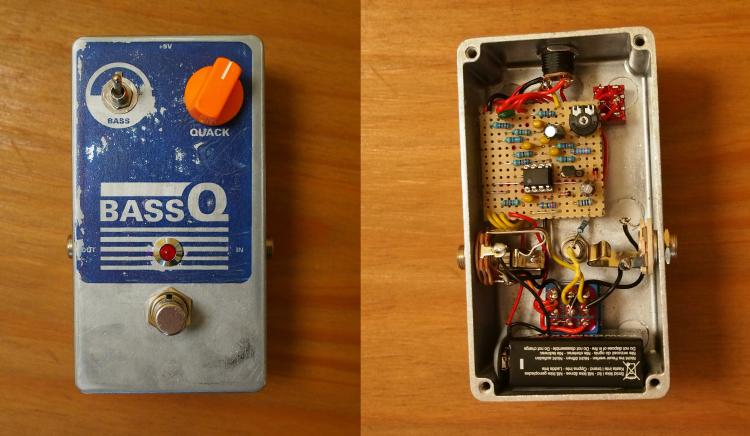
|
|
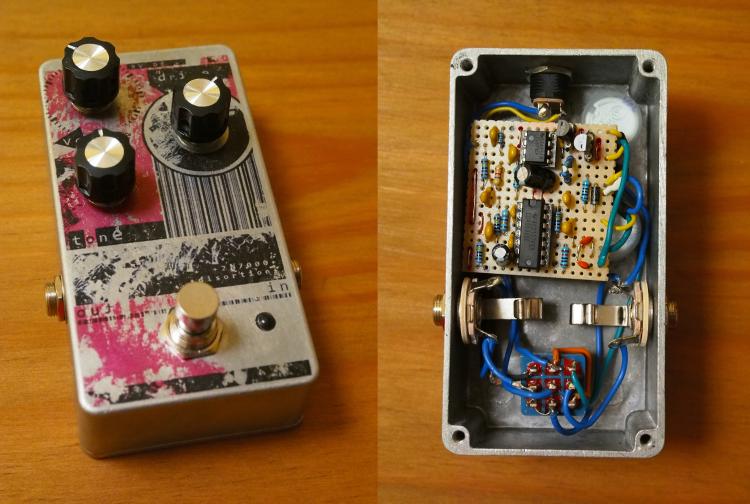
And one more: Stone Grey Distortion (2N7000 version).
|
|
Administrator
|
In reply to this post by mug
Very cool it has kind of an R2D2 look
|
|
In reply to this post by Travis
Team Awesome Fuzz machine clone:
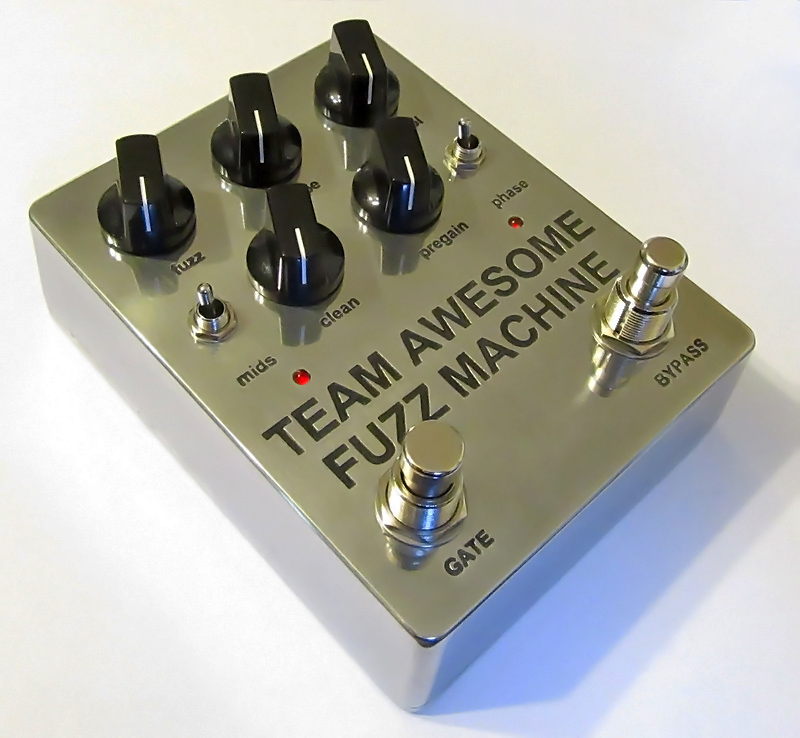 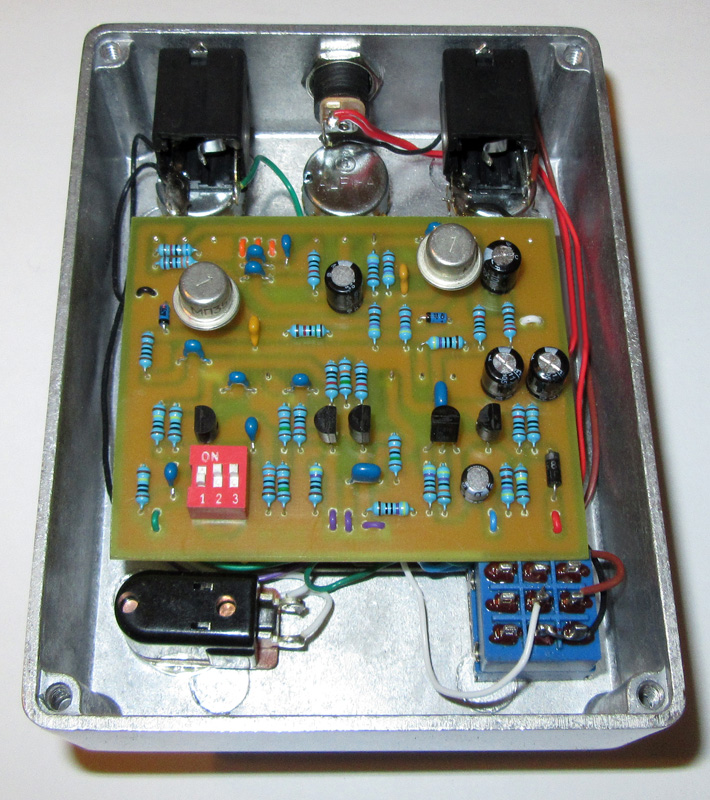 my V1 clone and my V2 original: 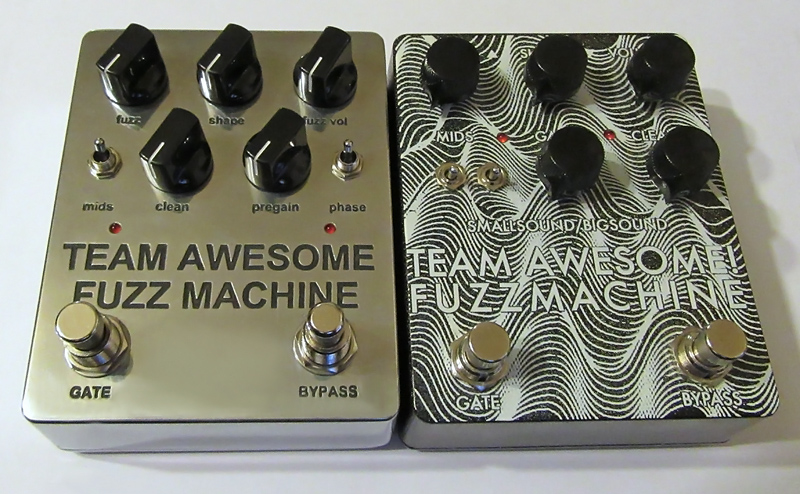
|
|
ok, I'll break the ice following up a Johnk post...
Wampler Velvet Fuzz (with mods) 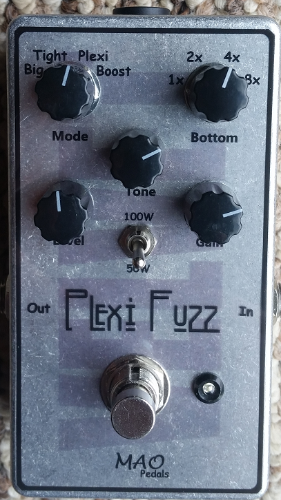 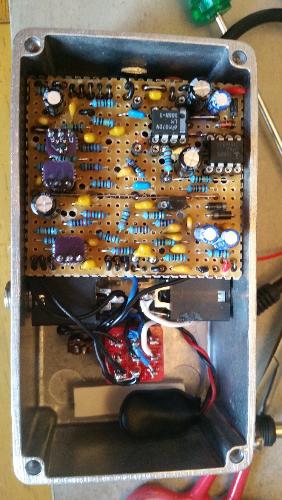 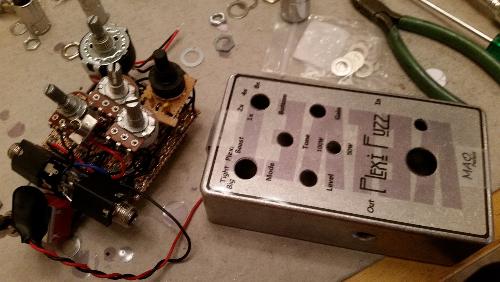
1978 Gibson Les Paul Standard, Cherry Sunburst
|
|
Emerson Em-Drive
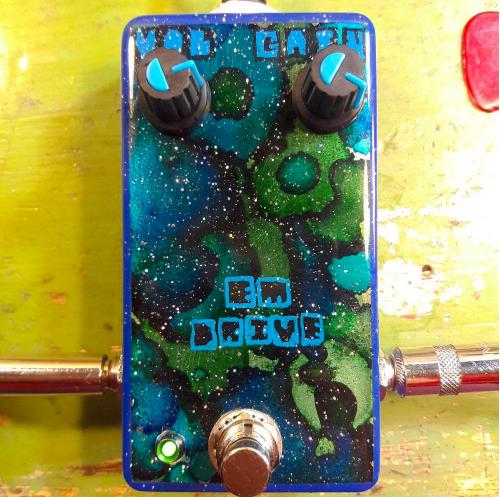 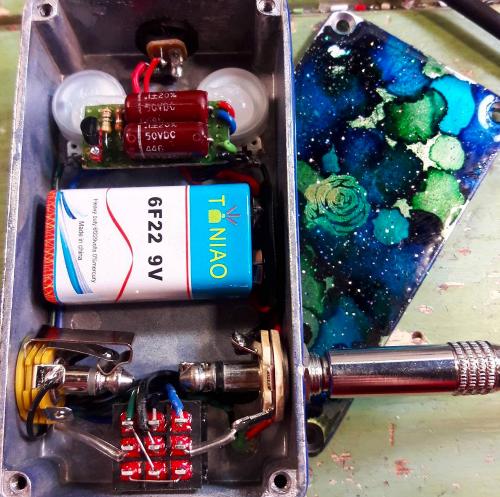 Huminator II 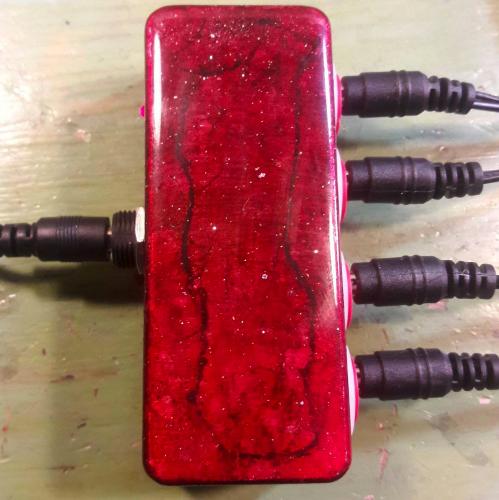 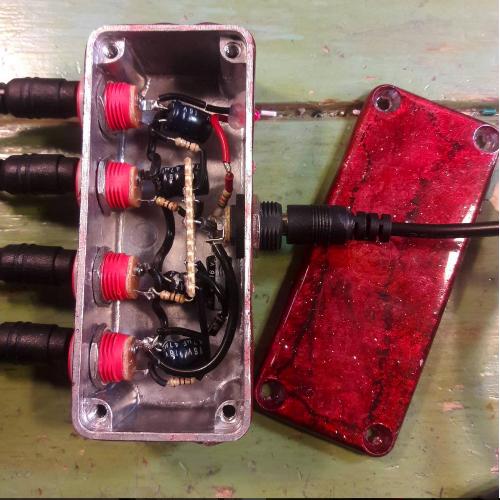
|
|
In reply to this post by trom72
trom72, sorry so late but love your creative styles
1978 Gibson Les Paul Standard, Cherry Sunburst
|
|
In reply to this post by Geiri
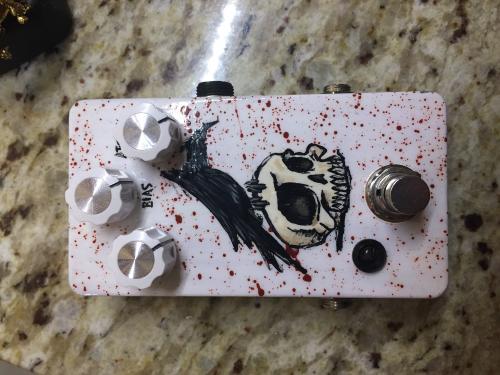
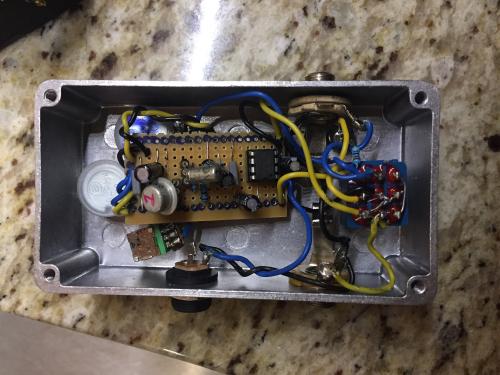
I found a logout for a DAM Mk. 1.5 TONEBENDER with an onboard inverter on FSB so I gave it a shot. I used a MP21A for Q1 and an AC125 for Q2. Sounds great. I have Greasebox in the works too. One of my better wiring jobs too.
|
|
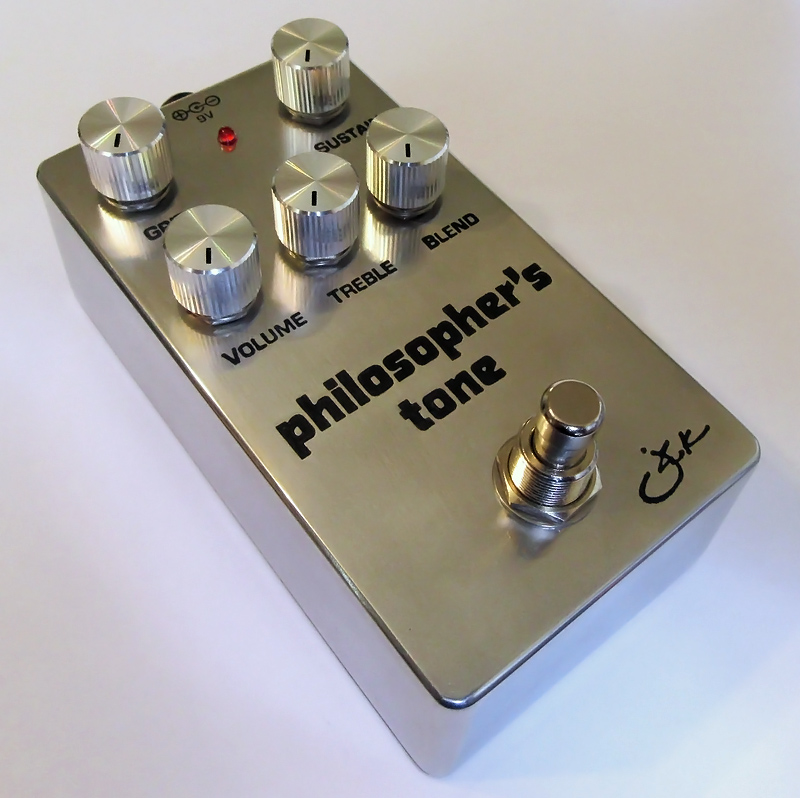
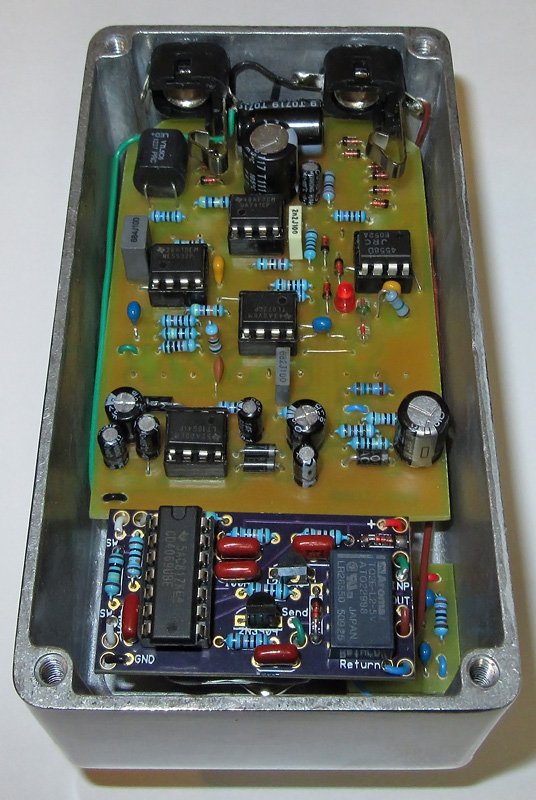
Pigtronix Philosopher's Tone in an etched 125B, all top jacks, fet boost on the output and relayed true bypass:
  |
|
Administrator
|
In reply to this post by Travis
 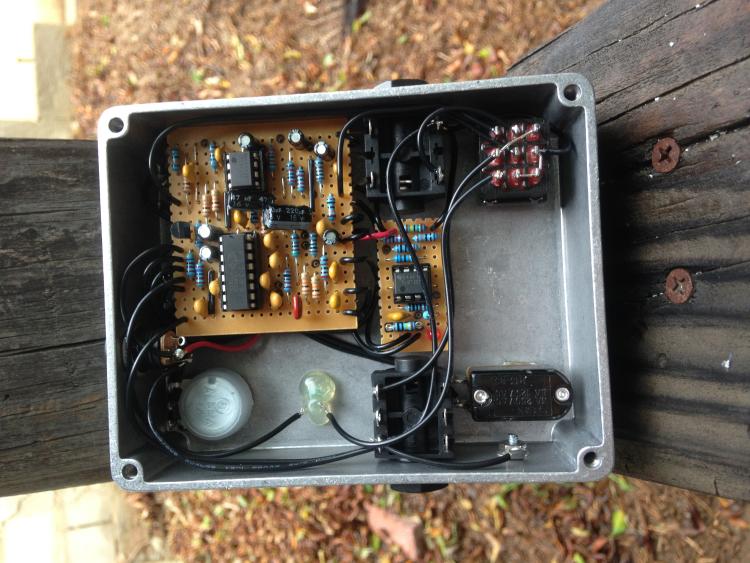 Built this delay for a friend. It's a Deep Blue Delay with modulation from the madbean modulatorator and a momentary switch for max feedback. I'll call it the Derp Bleu Delay |
|
Hi Travis,
I can't seem to find a schematic of the modulatorator. Or is the the 1776 modulator? cheers |
|
In reply to this post by Travis
Hey Travis,
nice clean and straightforward build! How did you do the max feedback mod? I assume it shorts some lugs of the repeats pot? cheers |
|
In reply to this post by Travis
Slightly off-topic, but I wanted to come back to finishing enclosures. My girlfriend definitely wants to try out screenprinting enclosures in the future.
 For the fuzz we're about to sell, she screenprinted some cotton bags. And they look pretty damn good, if I say so myself: 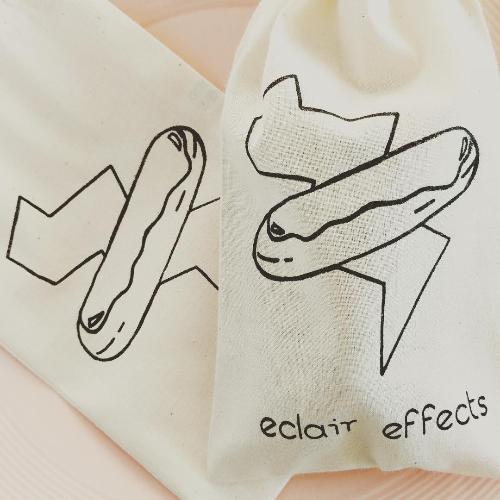
|
|
DUDE! That is absolutely fucking fantastic!! I love that logo design. She's a keeper! ...and if not, give her my number. I kid, I kid!! ...or do I? On 11/28/2016 9:02 AM, BassVD [via
Guitar FX Layouts] wrote:
Slightly off-topic, but I wanted to come back to finishing enclosures. My girlfriend definitely wants to try out screenprinting enclosures in the future. -- Writer, Poet, Musician, oh my! http://heathhouston.net/ https://medium.com/@Heath https://soundcloud.com/heathhouston https://twitter.com/heath_houston |
|
Administrator
|
In reply to this post by KT
The schematic and layout are in the requests section here. I just slightly modified Ciaran's layout. The modulation sounds nice especially for such a low parts count. It would need a switch to turn it all the way off if you want to do that though.
Mug yep you've got it right. I've been doing this mod for years and get asked how to do it everytime I post a delay with this mod. The momentary switch just shorts out lugs 2 and 3 of the feedback/repeats pot. It works great, if I wanted to get more geeky I'd add a variable resistor in series with the switch to control the swell rate |
|
Cool, thanks travis - I want to add this to my Echo Dream buildt

|
«
Return to Open Chat
|
1 view|%1 views
| Free forum by Nabble | Edit this page |


